

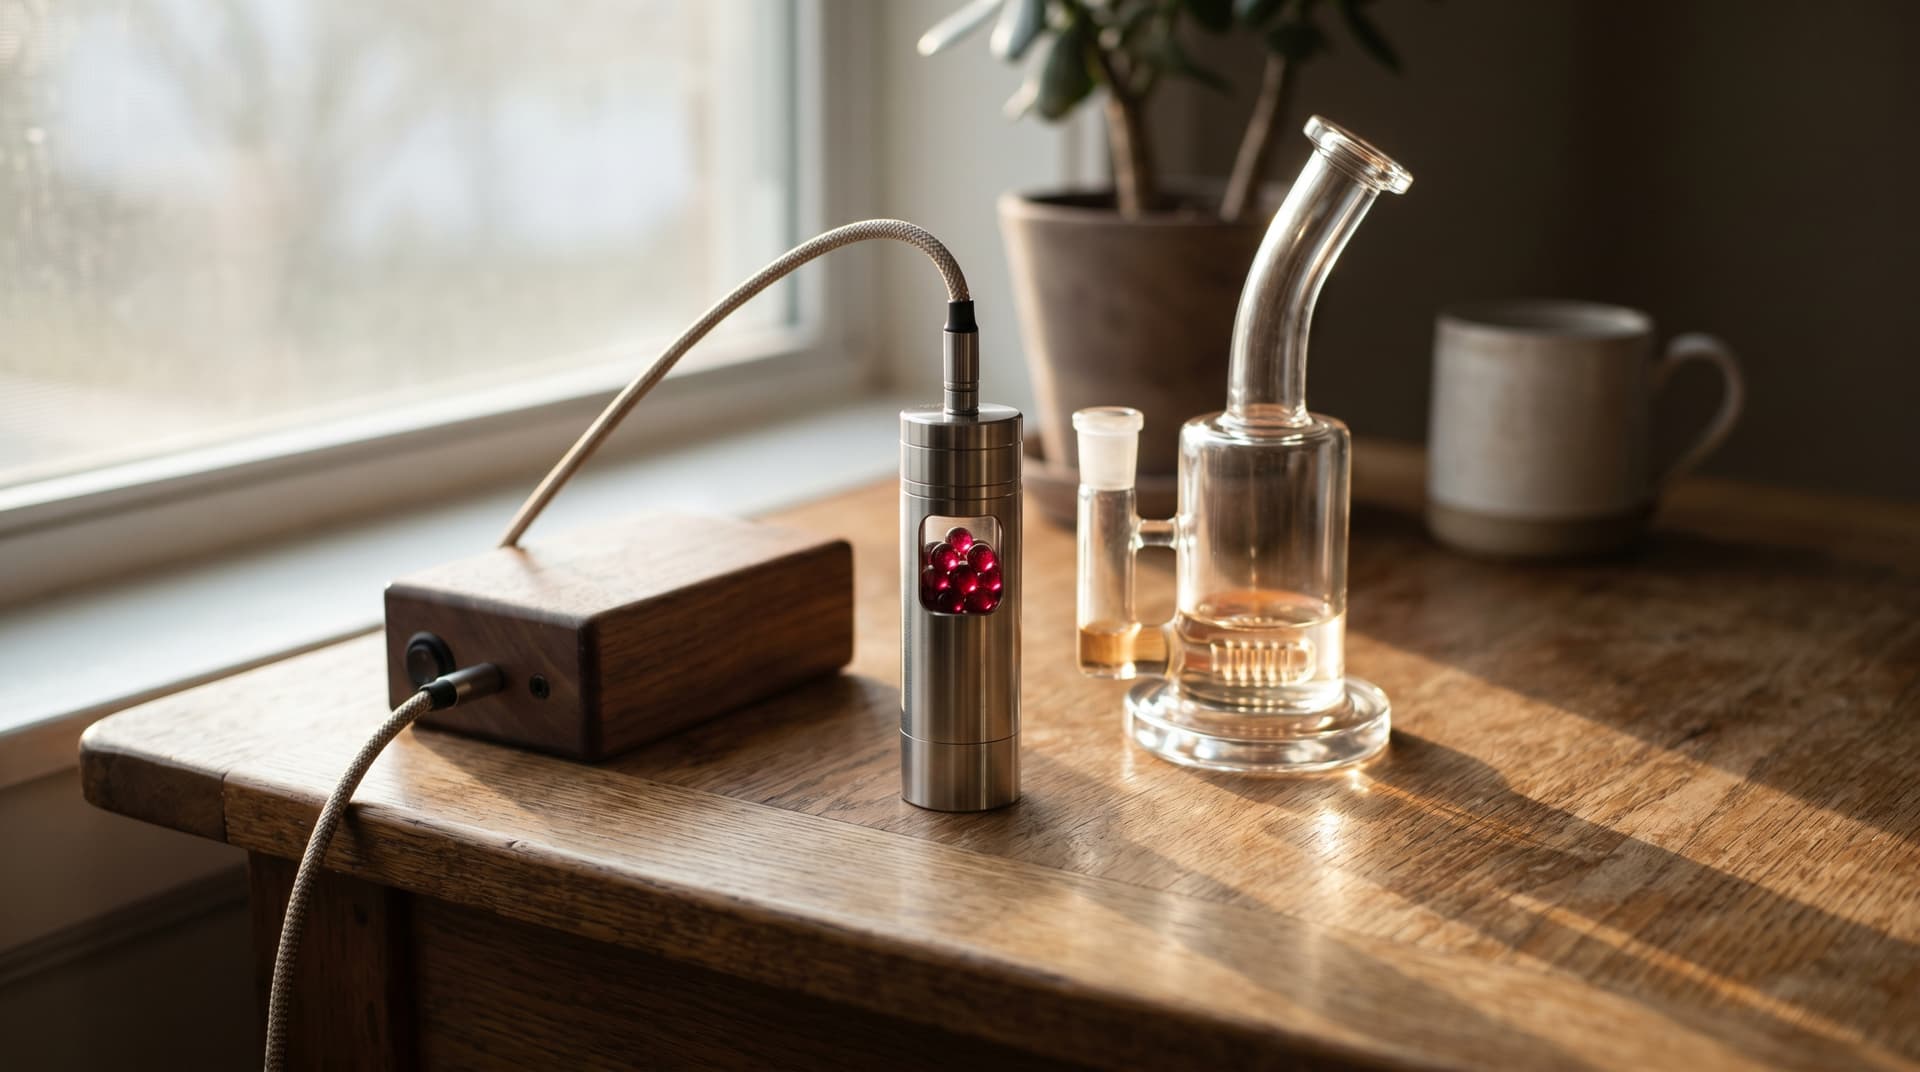
A ball vape heats air through a bed of ruby, quartz, glass or zirconia balls, and that hot air vaporizes your cannabis mostly by convection. Get the heat soak and your draw speed right and it's easy. Here's the short version of the process we use:
- Match the head, bowl, pipe and controller so every joint fits.
- Set your maker's starting temperature on the PID.
- Wait out the full heat soak (2-5 minutes on the MiniNail, Freight Train and FlowerPot B1).
- Load 0.1-0.25 g loosely, with room left for the head.
- Seat the head on the bowl by its handle.
- Draw slow and steady through the water pipe.
- Park the head on its stand, let the bowl cool and check the AVB.
If you already know what a ball vape is and own one, skip to the step-by-step section. If you're still deciding which to buy, check our best ball vaporizers ranking first.
This guide covers wired desktop ball vapes (the most common type), wireless dock-heated models, and portable torch and induction ball vapes. They all heat air through a bed of balls, but the controls and settings differ, so we cover each one.
What you need before your first session
A wired desktop session needs the ball vape head, a matching coil and PID controller, and a stand to park the hot head. You'll also want the right bowl and water pipe, ground cannabis, and a funnel or loading tool if you like one. A matched kit like the MiniNail Flower Wand, our beginner pick in the ball vape ranking, bundles the controller, coil and heater. You only add a water pipe. Torn between kits? See MiniNail Flower Wand vs Universal Baller, Freight Train vs Universal Baller and Universal Baller vs FlowerPot B1. Set it up where the cable can't get snagged and nothing flammable sits near the hot parts.
Most desktop ball vapes connect to a water pipe via a 14 mm or 18 mm glass joint. Check two fits before buying glass: the head into the bowl, and the bowl into your pipe. They're often different sizes. The Freight Train has an 18 mm injector, but its supplied bowl has a 14 mm male joint. The FlowerPot B1 works with different bowl and post setups, so pick the one that matches your glass.
Fill your water pipe with just enough water to cover the downstem slits or perc openings, then take a test pull with the head off. Too much water increases draw resistance and can splash into the bowl. Too little and you lose the cooling you bought the pipe for. Our guide to using vaporizers with bongs covers water levels in more detail.
How to grind cannabis for a ball vape
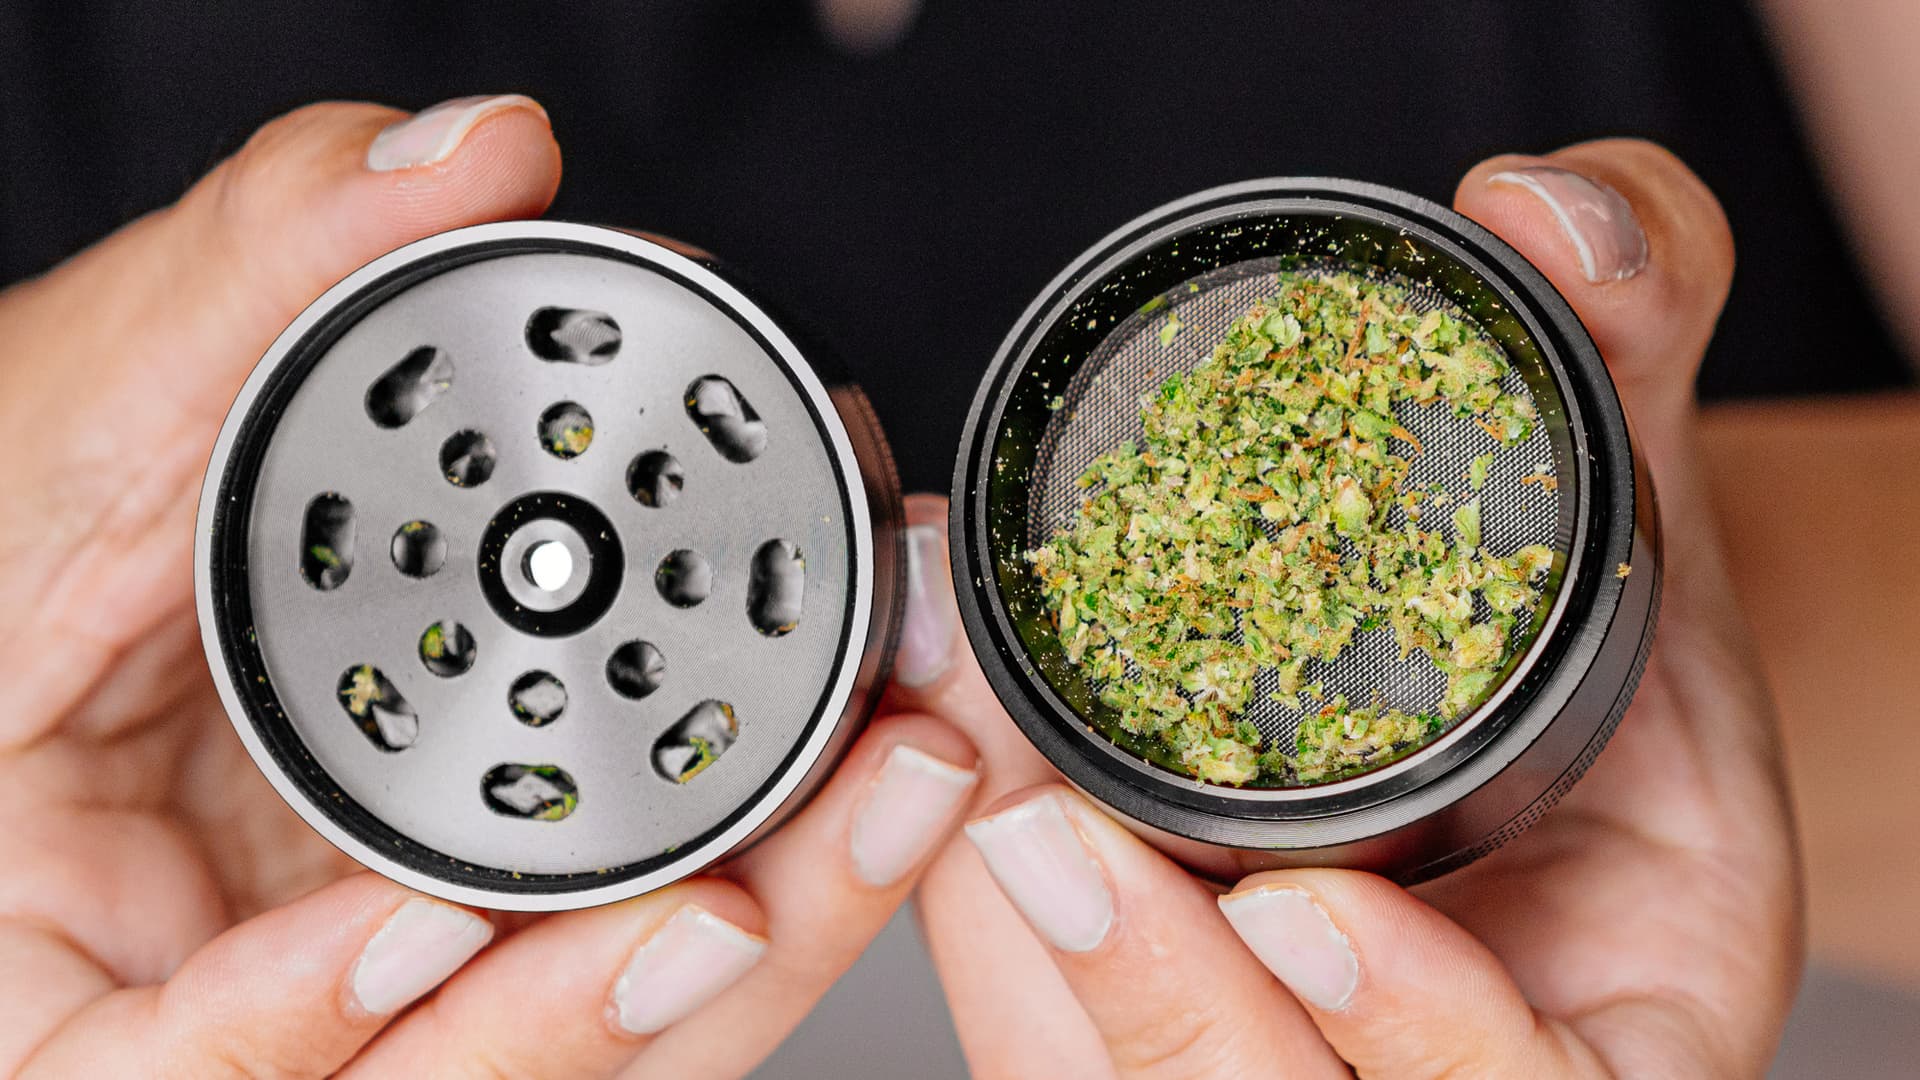
Collect from the main chamber above the screen, and grind to suit your bowl's screen.
A medium grind is the best place to start in most bowls. Go finer only if your screen can hold it. Cannabis Hardware's FlowerPot FAQ actually recommends a fine grind for that bowl. Powder that slips through a screen restricts airflow, while whole nugs extract unevenly in most bowls.
A standard four-piece grinder does the job, and our grinding guide covers technique in depth. Load the bowl loosely, leaving room for the head, and don't press it down hard. Ball vapes extract through airflow, not compression.
Step-by-step: Setting up a wired desktop ball vape
Wired ball vapes use a PID (proportional-integral-derivative) controller to regulate the heater's temperature. Here's the setup process we follow:
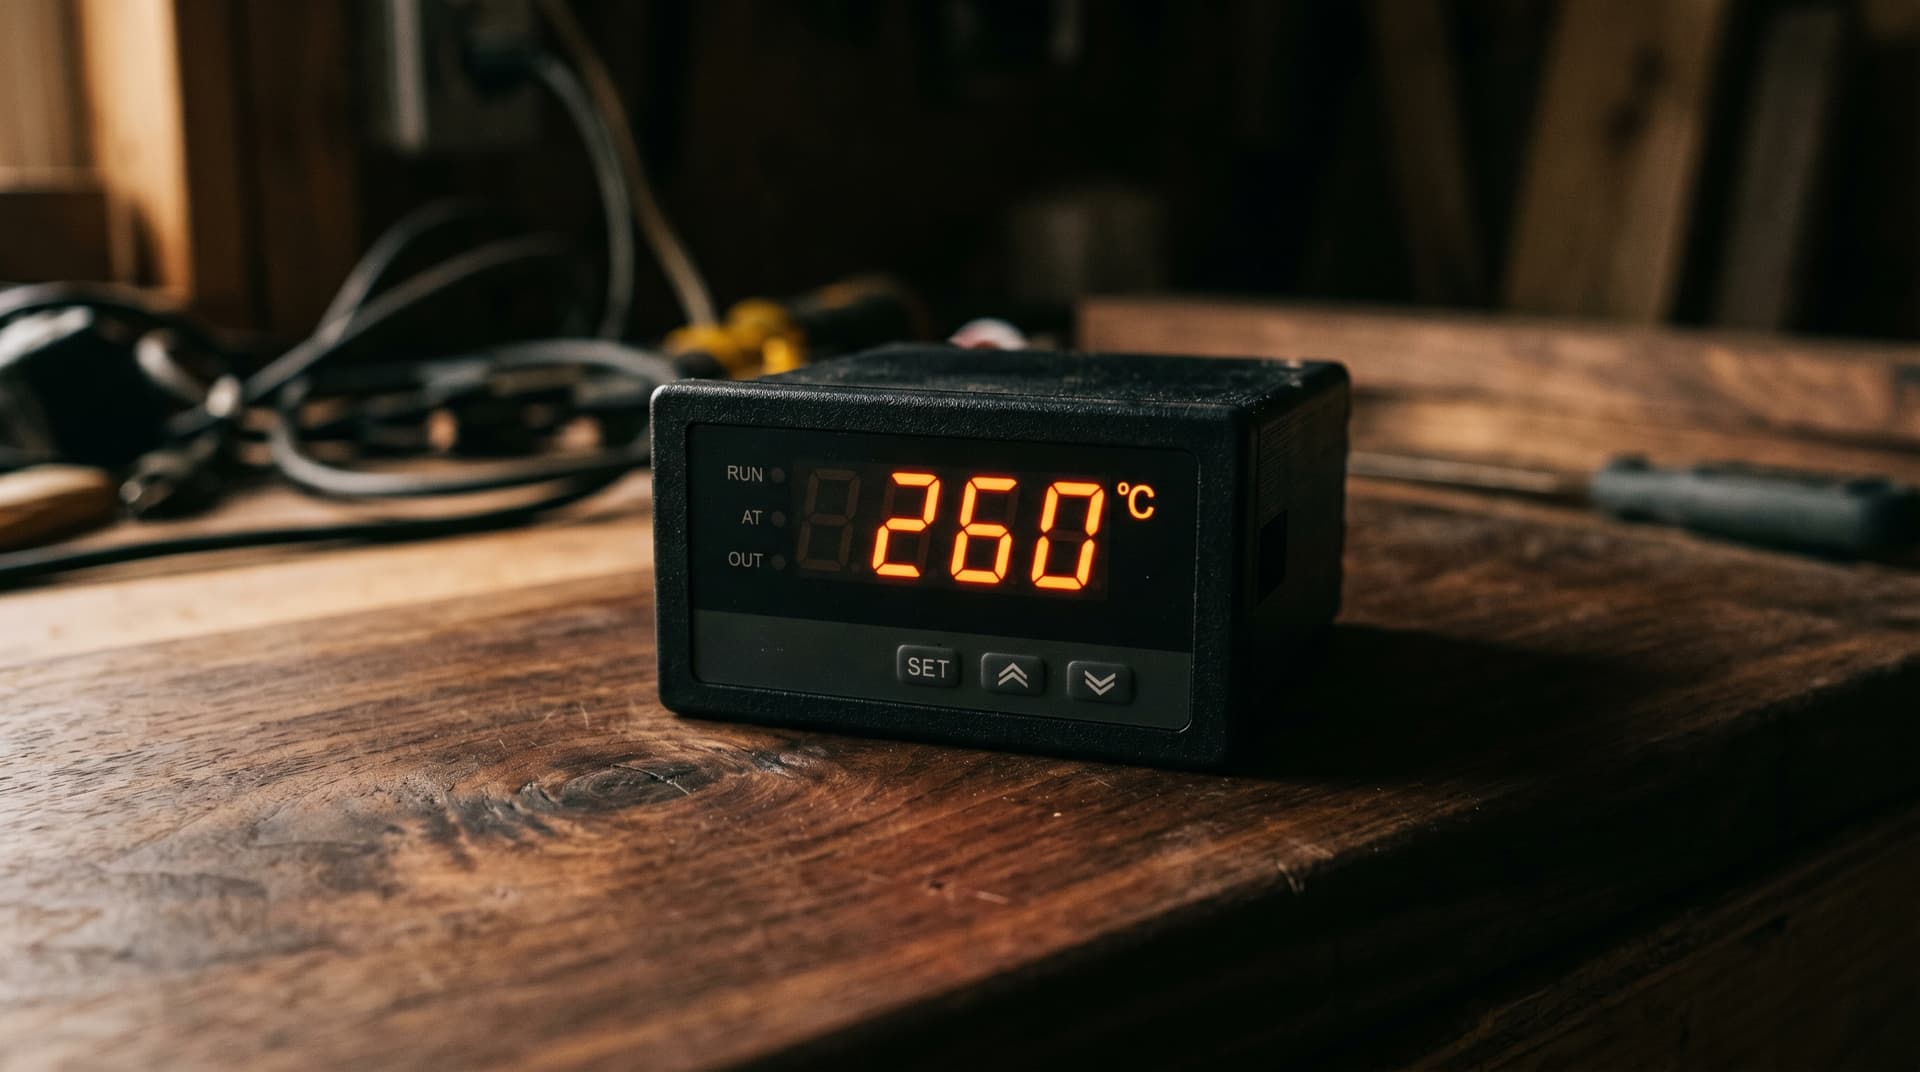
The PID shows its sensor reading and your setpoint. The balls take longer to heat through, so give the head time before your first draw.
1. Connect the PID controller
With everything switched off, plug the ball vape's coil into the PID controller, then plug the PID into the wall. Use the coil made for your controller and your mains voltage. A plug that fits can still be wired differently, so check the maker's pinout. Power it on, and the display shows the current reading and your target setpoint.
2. Set your target temperature
Start with the setting your ball vape's maker recommends for your head and coil, and check whether the display reads °C or °F. These numbers vary a lot between brands. Cannabis Hardware, for example, suggests 316°C for the FlowerPot. On the MiniNail Flower Wand, our beginner pick, set the controller to FLOR and start at 260°C, within MiniNail's 204-316°C range. Don't borrow a setting from a portable or from an induction heater's display. We cover temperature adjustments in the section below.
3. Wait for heat soak
This is the step beginners tend to rush, and it ruins their first experience. The PID reads its sensor at the heater, not the balls, and the spheres need time to soak up heat all the way through. So when the display hits your setpoint, the balls are usually still catching up. Follow your maker's warm-up time. The MiniNail Flower Wand needs about 3 minutes, the Freight Train about 2, and the FlowerPot B1 3-5 (Cannabis Hardware recommends the full five on your first sessions). After any setting change, let the head settle again before you draw.
Keep the hot head on its stand until you need it, and switch the controller off whenever you walk away.
Tip
4. Load the bowl
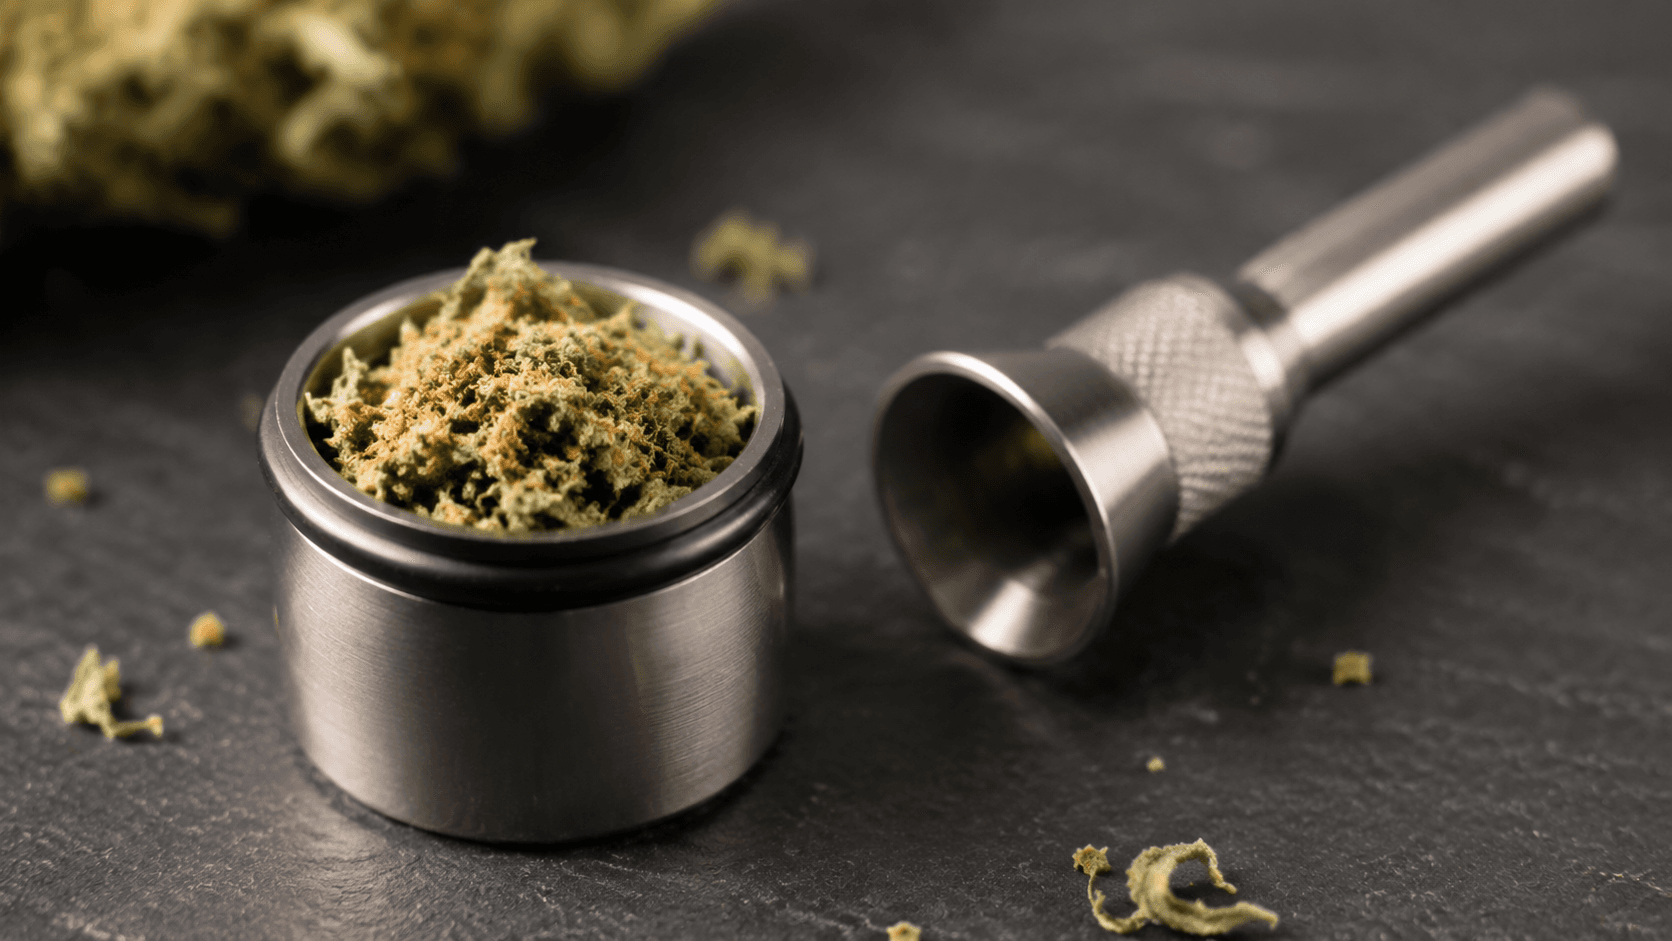
Load loosely, with room left for the head. Loose packing lets hot air move through the whole bowl.
We usually start with 0.1-0.25 g of ground cannabis, depending on the bowl. Don't pack it tight. A light, fluffy load gives hot air space to pass through and extract terpenes and cannabinoids evenly. Leave the clearance your head needs, and keep plant material out of the heater.
5. Place the ball vape head on the bowl
Hold the head by its handle and lower it onto the loaded bowl. On injector-style ball vapes like the Freight Train, the head drops into the bowl. On diffuser-style models like the FlowerPot, it sits over the bowl. Test the fit once while everything is cold, so you know it seats snugly without force. Never press mismatched glass together to get a seal.
6. Draw slowly and steadily
Inhale through the water pipe mouthpiece with slow, steady force. A long draw runs 10-15 seconds, but shorter, comfortable pulls work too. There's no need to force it or finish the bowl in one go. Most bowls take a few draws, depending on the load and the heat.
Between draws, give the bowl a quick stir with your poker or loading tool, with the head parked on its stand. Moving the outer and bottom cannabis to the top evens out the extraction across the whole load.
7. Clear and inspect
Lift the head off by its handle and put it back on the stand between draws. Let the bowl cool before you empty it. The spent cannabis should look evenly brown. Green patches point to the grind, the load, the fit or a short heat soak, so change one of those next time. Save the AVB (already vaped bud) for edibles or other uses.
Injector vs diffuser heads: what changes in use
Injector heads like the Freight Train sit inside the bowl and push hot air straight down through your cannabis. The Freight Train is full convection, with no contact heat. Slow, steady draws get the most out of them. Diffuser heads like the FlowerPot B1 sit over the bowl, and on a metal bowl the contact adds some conduction on top of the hot air. On a diffuser, start at the lower end of your maker's range and read the AVB before you go up. For how the two designs are built, see injector vs diffuser heads.
Temperature settings that actually matter
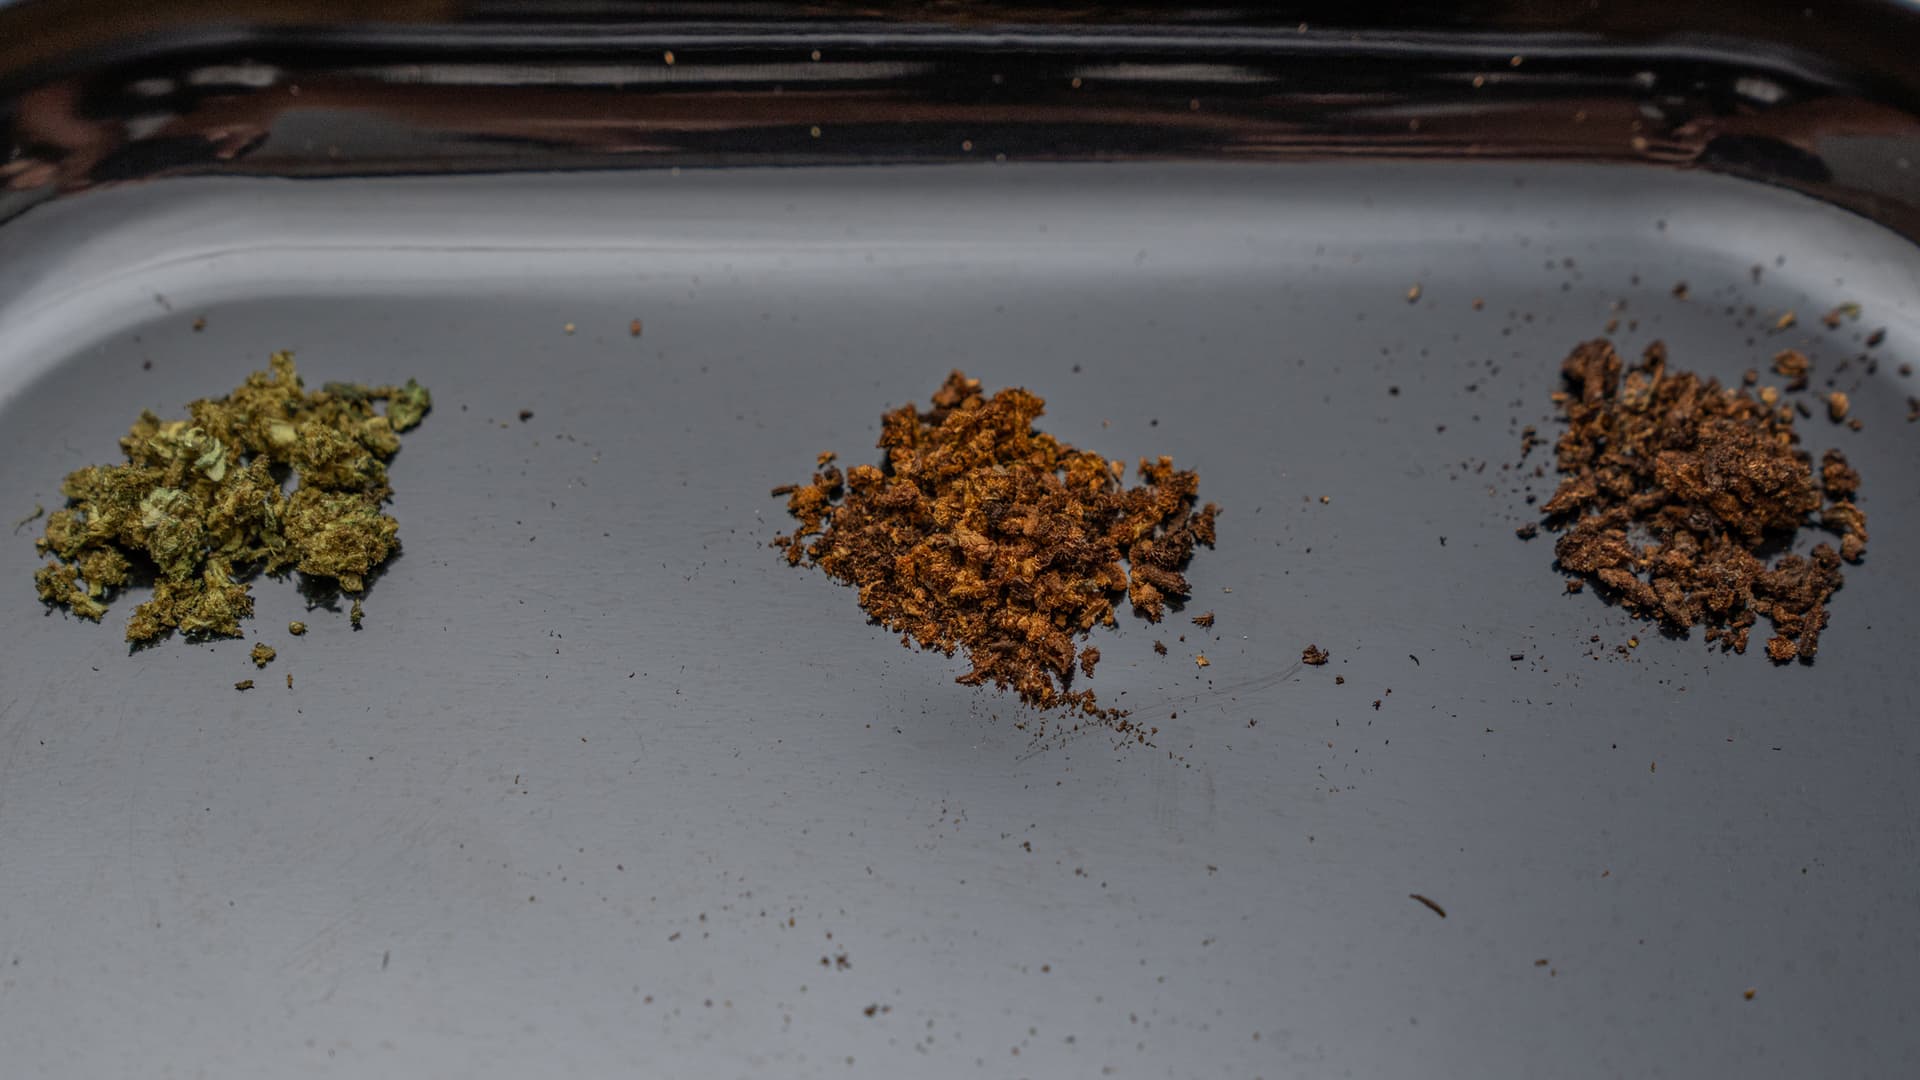
Three piles of spent cannabis, from light green-brown to dark brown. Match your bowl to one and set your next session as described below.
Temperature changes flavor, vapor density and how fast a bowl clears. The tricky part is that each type of ball vape shows you a different kind of number, so it helps to know what yours means:
| Setting or cue | What it tells you |
|---|---|
| Wired PID setpoint | The target for the heater's sensor, not the temperature at your cannabis |
| PID reaches its target | The sensor is there, while the balls may still be heating through |
| Induction heater number | Power or heating time. On the iSpire Wand, it works as a timer |
| Portable cap click or indicator | That cap's own ready signal, separate from any PID number |
Tip
Let the AVB pick your next setting. Read the bowl when it stops giving vapor. Still light green-brown? Go up about 10°C next session. Dark brown, or the flavor turned toasty near the end? Come down about 10°C. Change only that one thing.
Our temperature guide covers the science behind vaping temperatures. Don't be surprised that desktop PID numbers look higher than portable settings. The PID reads the heater, not your cannabis, so the two scales don't line up.
Draw technique makes or breaks the experience
Draw speed is one of the biggest factors separating a great ball vape session from a disappointing one. Pull too fast and cool air rushes past the balls faster than they can heat it, producing thin vapor. That's why Cannabis Hardware recommends a slow-to-medium draw on the FlowerPot.
Tip
If the chamber stays thin and wispy, don't just pull harder. Check the heat soak, bowl fit, load and screen first, and change one thing at a time.
For more on inhale technique across all vaporizer types, read our draw technique guide.
Wireless and portable ball vapes work differently
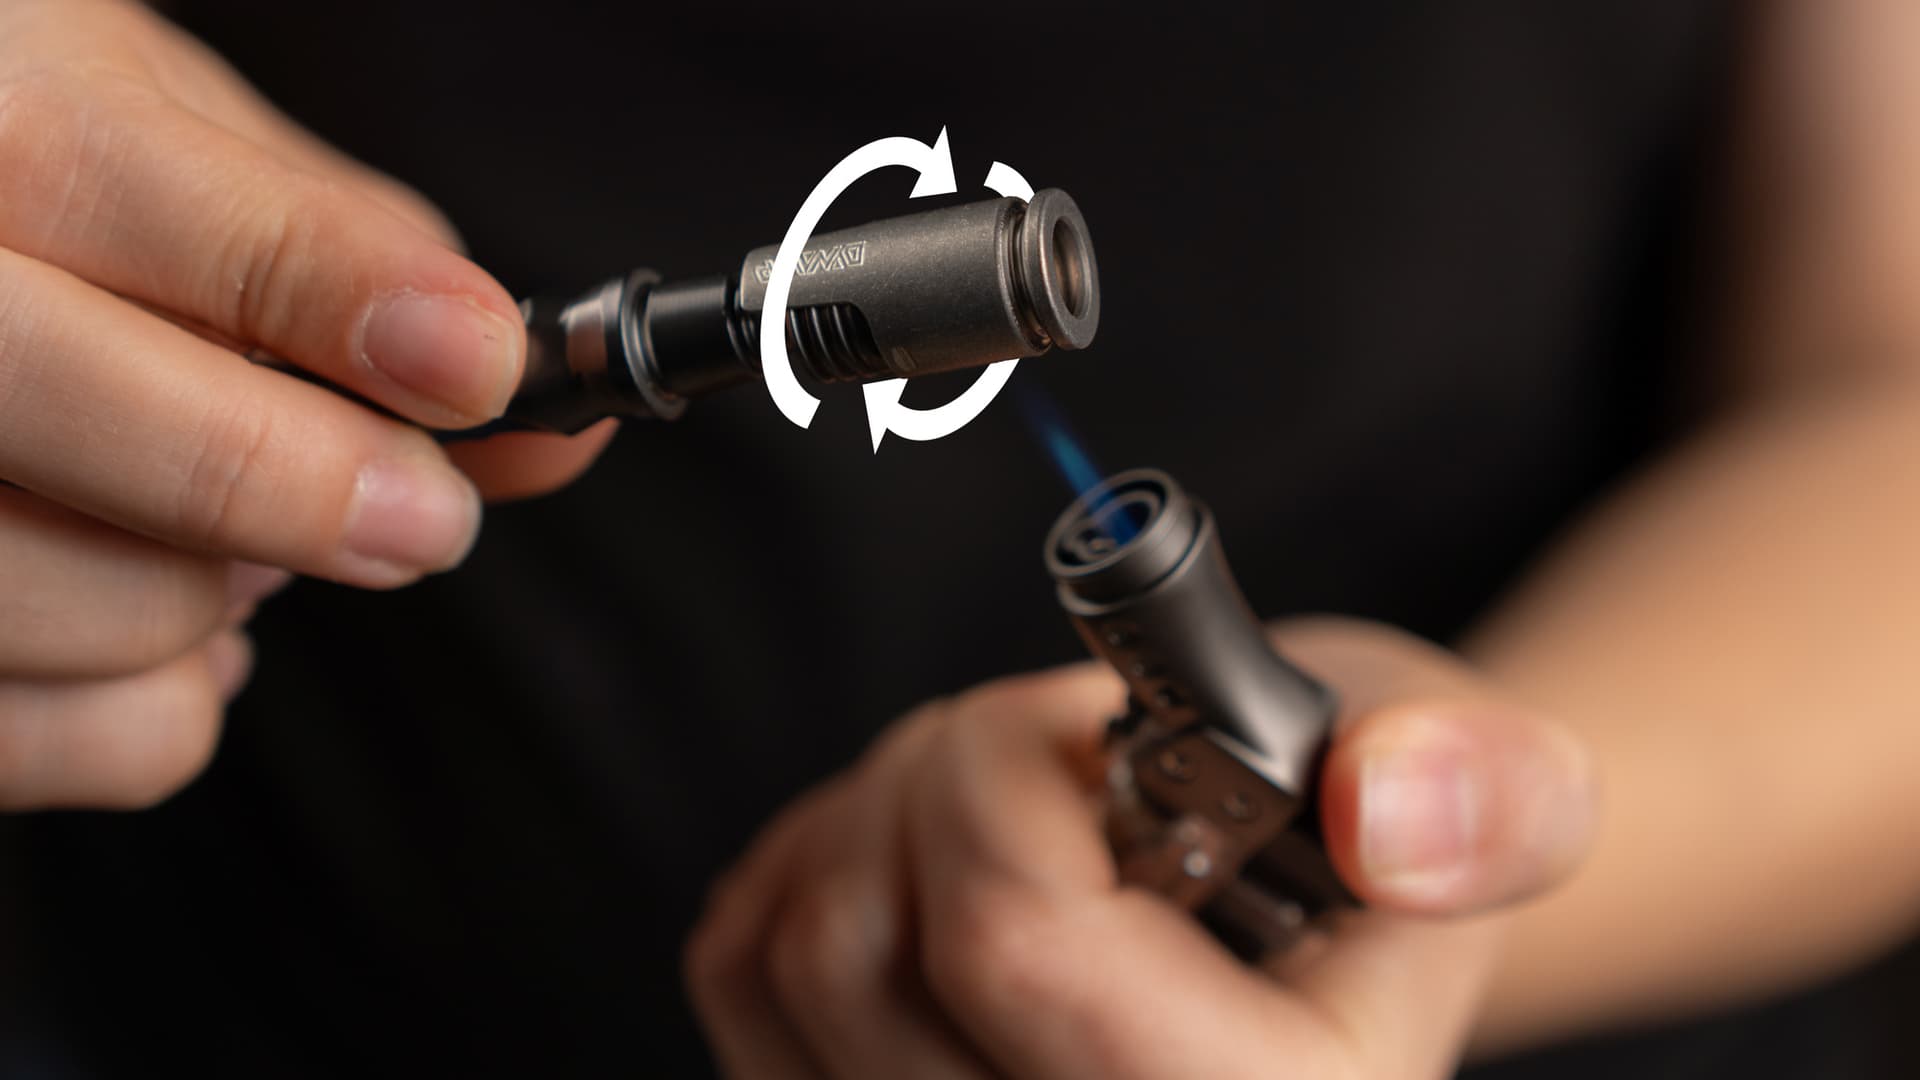
Rotate while you torch to spread the heat evenly, the same habit you'd use on a DynaVap like this one.
Not all ball vapes stay plugged in while you draw. The Universal Baller, our most versatile ball vape pick, heats its head on a mains-powered dock. The head then lifts off for cord-free draws while the PID stays plugged in. Portable ball vapes like the Tempest 2, the highest-rated ball vape we've tested, skip the wall entirely and heat with a torch or an induction heater.
Wireless desktop ball vapes
Dock the head, set your temperature, and give it a full heat soak as described above. Lift it off when you're ready to draw. The head cools as you use it. You get a few draws before it goes back on the dock, depending on the setting and how long you pull.
Portable butane ball vapes
Heat the cap or chamber with a single-flame torch, rotating slowly and evenly. The Tempest 2 has a visual indicator on the body and clicks when it's ready. Its manual says to keep the flame off the indicator itself. How long it takes depends on your flame, the distance and whether the cap is still warm from the last round.
If you'd rather skip the torch entirely, the Tempest 2 also works with induction heaters. On the YLL 3.0, the manual gives 80 W for 35-40 seconds with the standard zirconia balls. Set the heater's bottom disc where the manual shows. On the iSpire Wand, the number on the display is a timer, not a temperature. The right setting depends on your balls and adapter, so go by Mad Heaters' induction table.
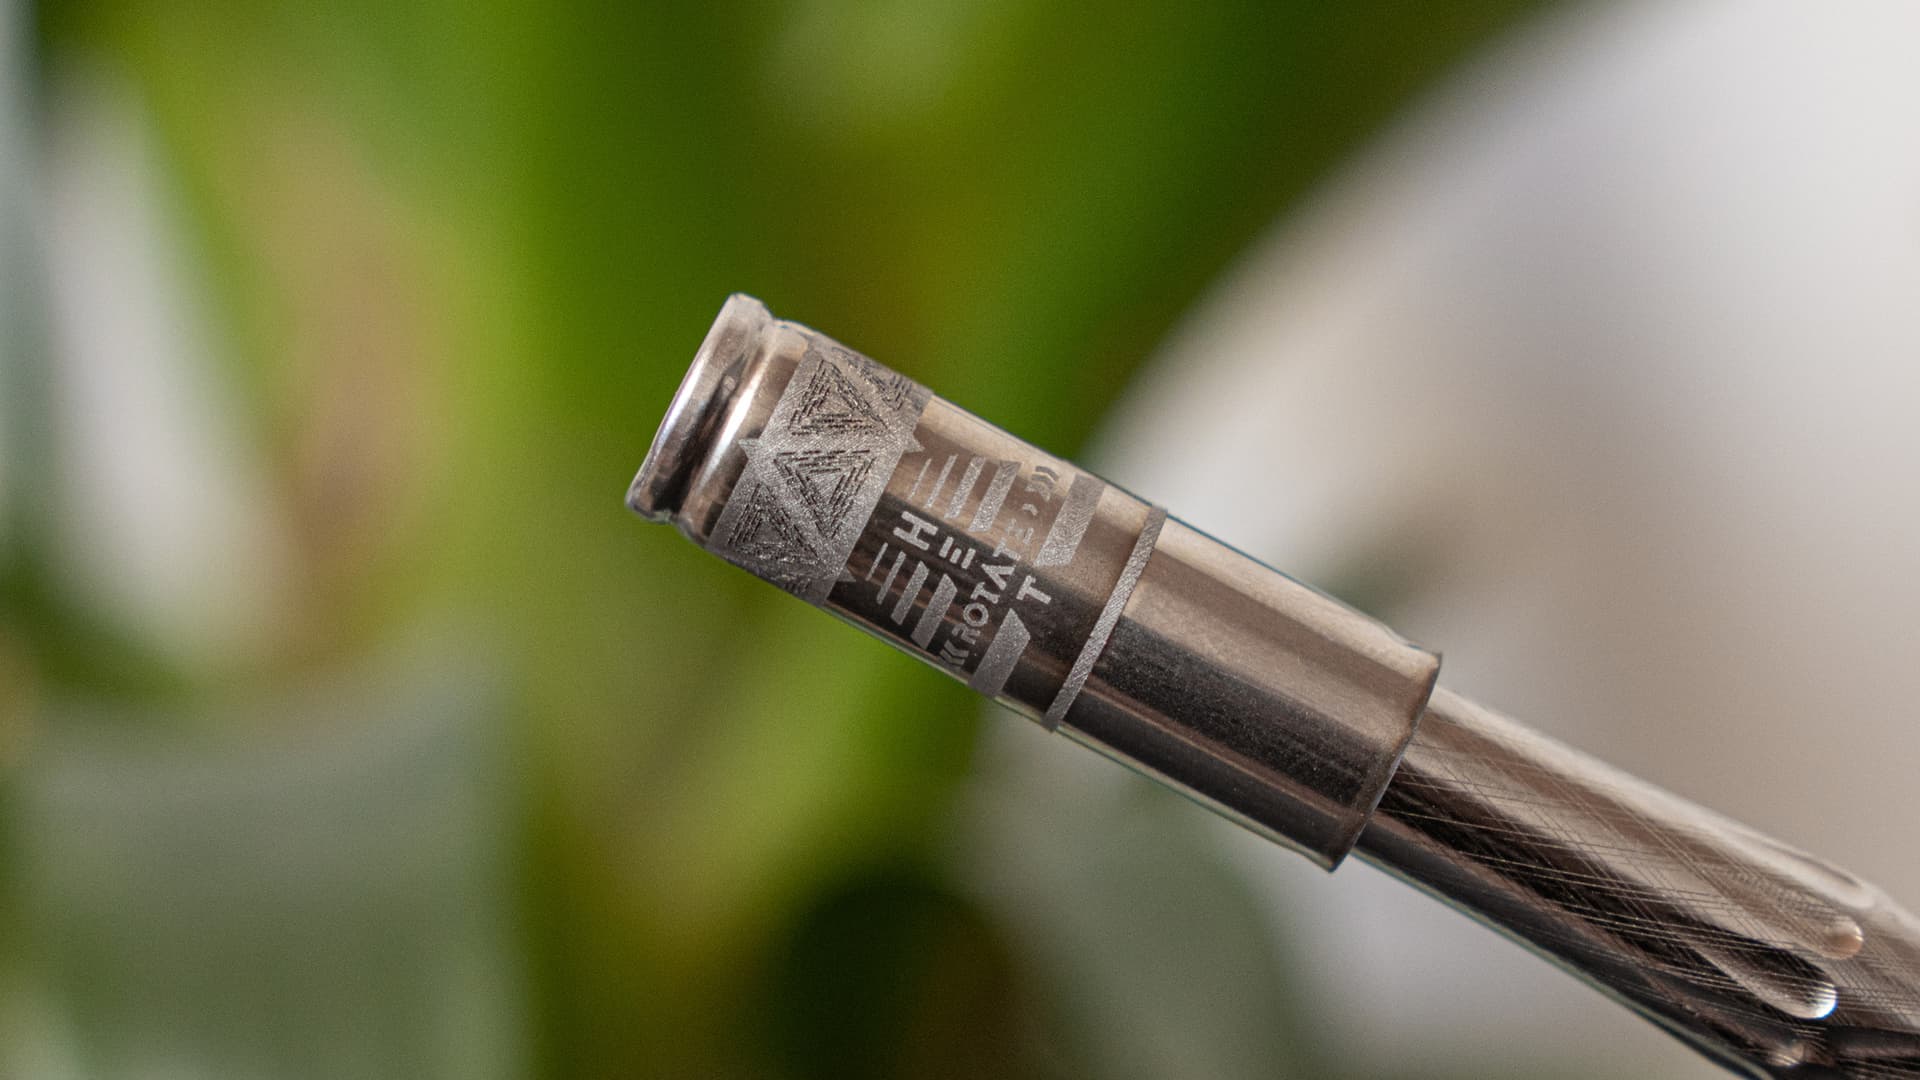
The DynaVap BallR Cap brings ball vaping to a portable. Its click is that cap's own heat cue, separate from any desktop PID number.
Portable models, including the DynaVap UniDyn with its ball-filled BallR Cap, are fully covered in our butane vaporizer ranking.
5 common mistakes and how to avoid them
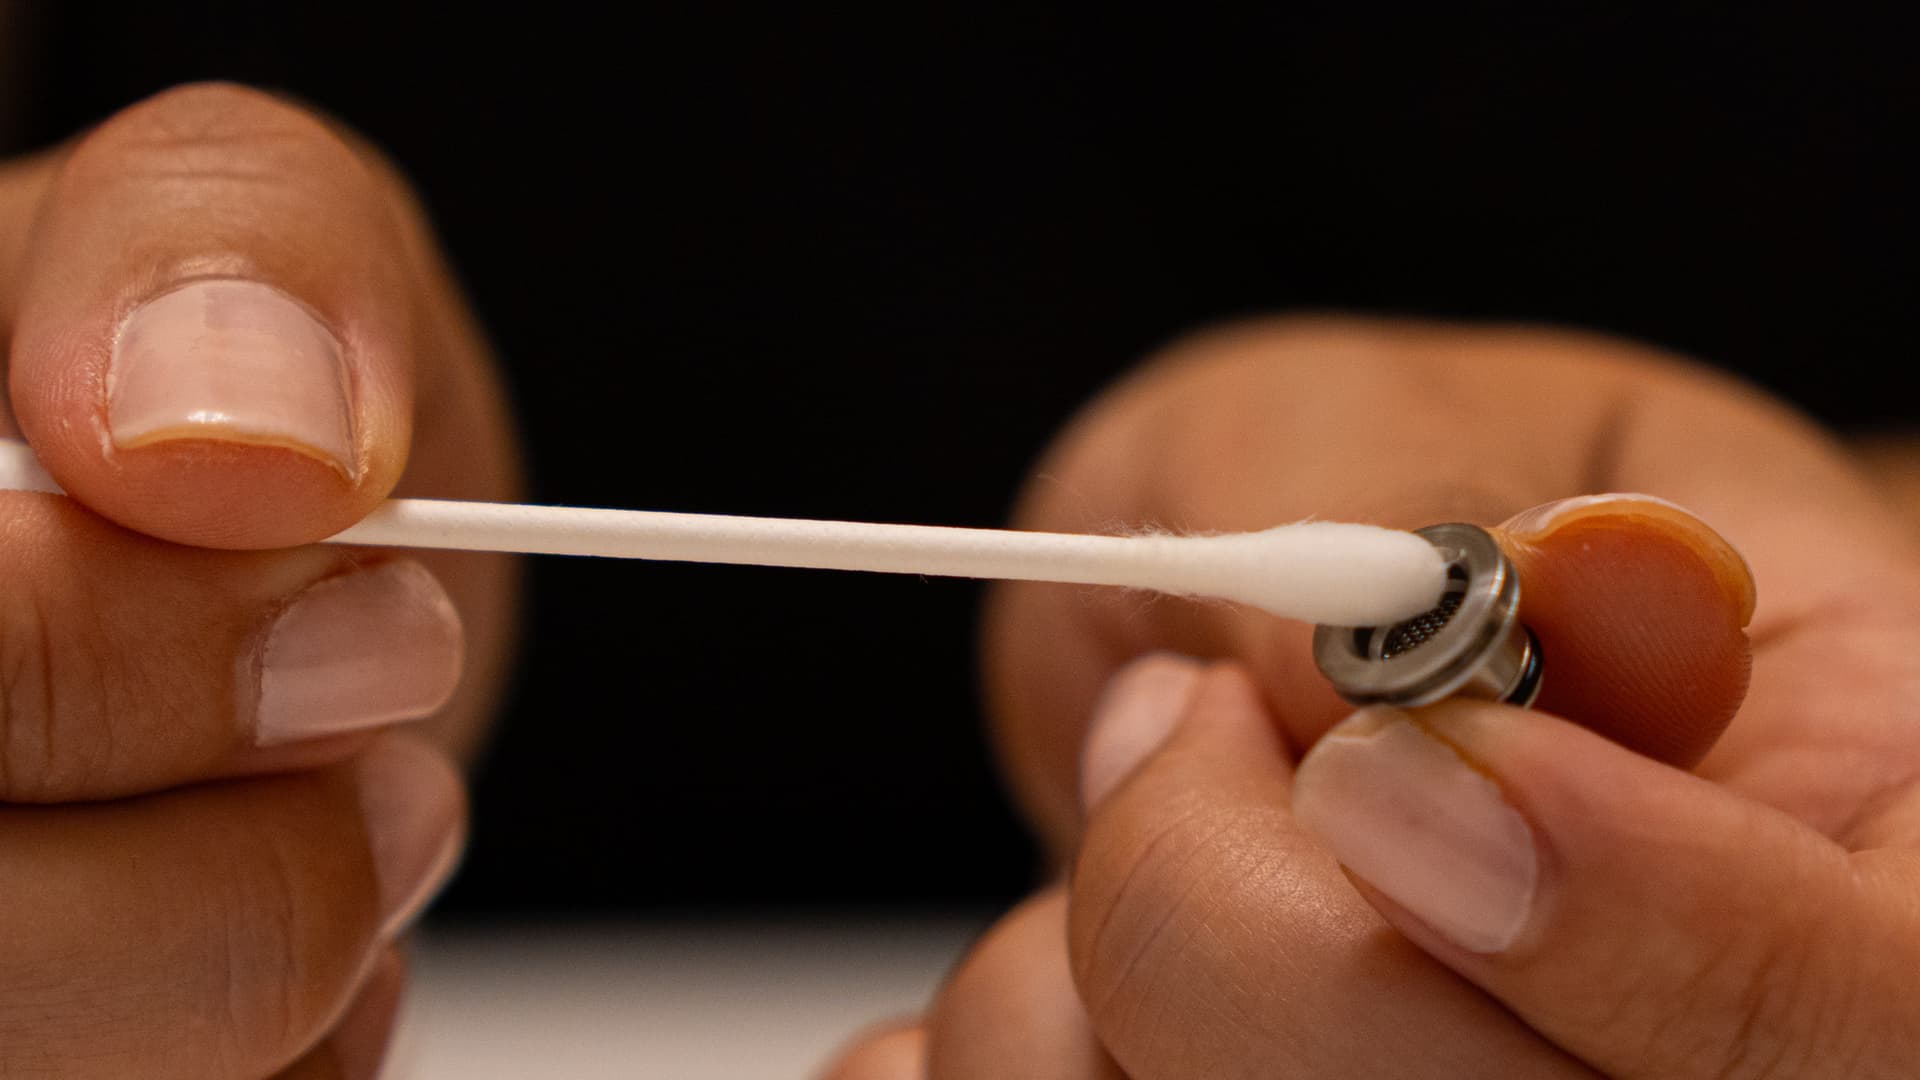
Check the screen regularly and clean off resin before it starts choking the airflow.
1. Skipping the heat soak. The PID can hit its setpoint while the balls are still catching up. Give the head its full warm-up before the first draw.
2. Packing too tight. Ball vapes need airflow. A packed bowl chokes convection and extracts unevenly. Load loosely, leave room for the head, and let the hot air do the work.
3. Drawing too fast. Fast pulls can outrun the balls and give thin, disappointing vapor. Slow, steady draws give them time to heat the air.
Ball vapes extract through airflow, not compression. Get the heat, the fit and the airflow right and the rest falls into place.
4. Using too much water. Extra water adds draw resistance and can splash into the bowl. Keep the level just above the downstem openings, and test the pull with the head off.
5. Not cleaning the screen and balls. Resin builds up on the screen and restricts airflow. Brush it off once it's cool, and soak the screen in isopropyl alcohol when brushing isn't enough. Every so often, check the balls too. If they look stained, take them out once the head is fully cool, soak them in isopropyl alcohol, rinse and let them dry completely before they go back in. Follow your maker's manual on whether the head comes apart. Keep the coil, cable and controller out of the bath, and let parts dry fully before you heat them again. If your water pipe pushes water back up when you stop drawing, lift the head or use a pass-through carb so vapor and moisture don't climb back into the heater. Our cleaning guide covers the full process.
Quick fixes by symptom
| Symptom | Likely cause | Fix |
|---|---|---|
| Thin vapor | Short heat soak or drawing too fast | Wait out the full warm-up (step 3) and slow your draw (step 6) |
| Harsh or hot vapor | Setting too high, pulls too long or too little water | Drop the setting about 10°C (step 2), take shorter pulls and check the water covers the downstem slits |
| Green patches in the AVB | Uneven grind, packed load, poor fit or short heat soak | Even out the grind, load looser (step 4), check the fit (step 5), give the head its full heat soak (step 3) and stir between draws (step 6) |
| Hard draw or gurgling | Too much water, a packed bowl or a clogged screen | Lower the water, load looser (step 4) and clean the screen |
| Head won't seat | Mismatched joint size or glass | Check the head-to-bowl and bowl-to-pipe fit while cold (step 5), and never force it |
Key Takeaway
- Match the whole setup: head, bowl, pipe, coil and controller all have to fit together
- Start at your maker's setting and heat soak fully: the PID reads its sensor, not the balls
- Grind to suit your screen, pack loose: airflow drives extraction, not compression
- Draw slow and steady: comfortable pulls, no need to force it
- Clean screens and balls regularly: resin buildup kills performance