Keeping your vaporizer clean is essential for getting the most out of your device and your herb. A dirty vape can lead to poor performance, muted flavors, and even potential health risks from bacteria buildup. But with a little know-how and the right tools, cleaning your vape is a breeze.
As someone who has used and maintained many different types of vaporizers over the years, I’m here to share my tips on how to clean your vape the right way.
Why Regular Cleaning is Important
When you vaporize herbs or concentrates, the heat causes oils and small particles to gradually build up inside your device. Over time, this residue can clog screens and airways, reducing airflow and the effectiveness of your vape’s heating system. This means weaker hits, less flavor, and wasted material.
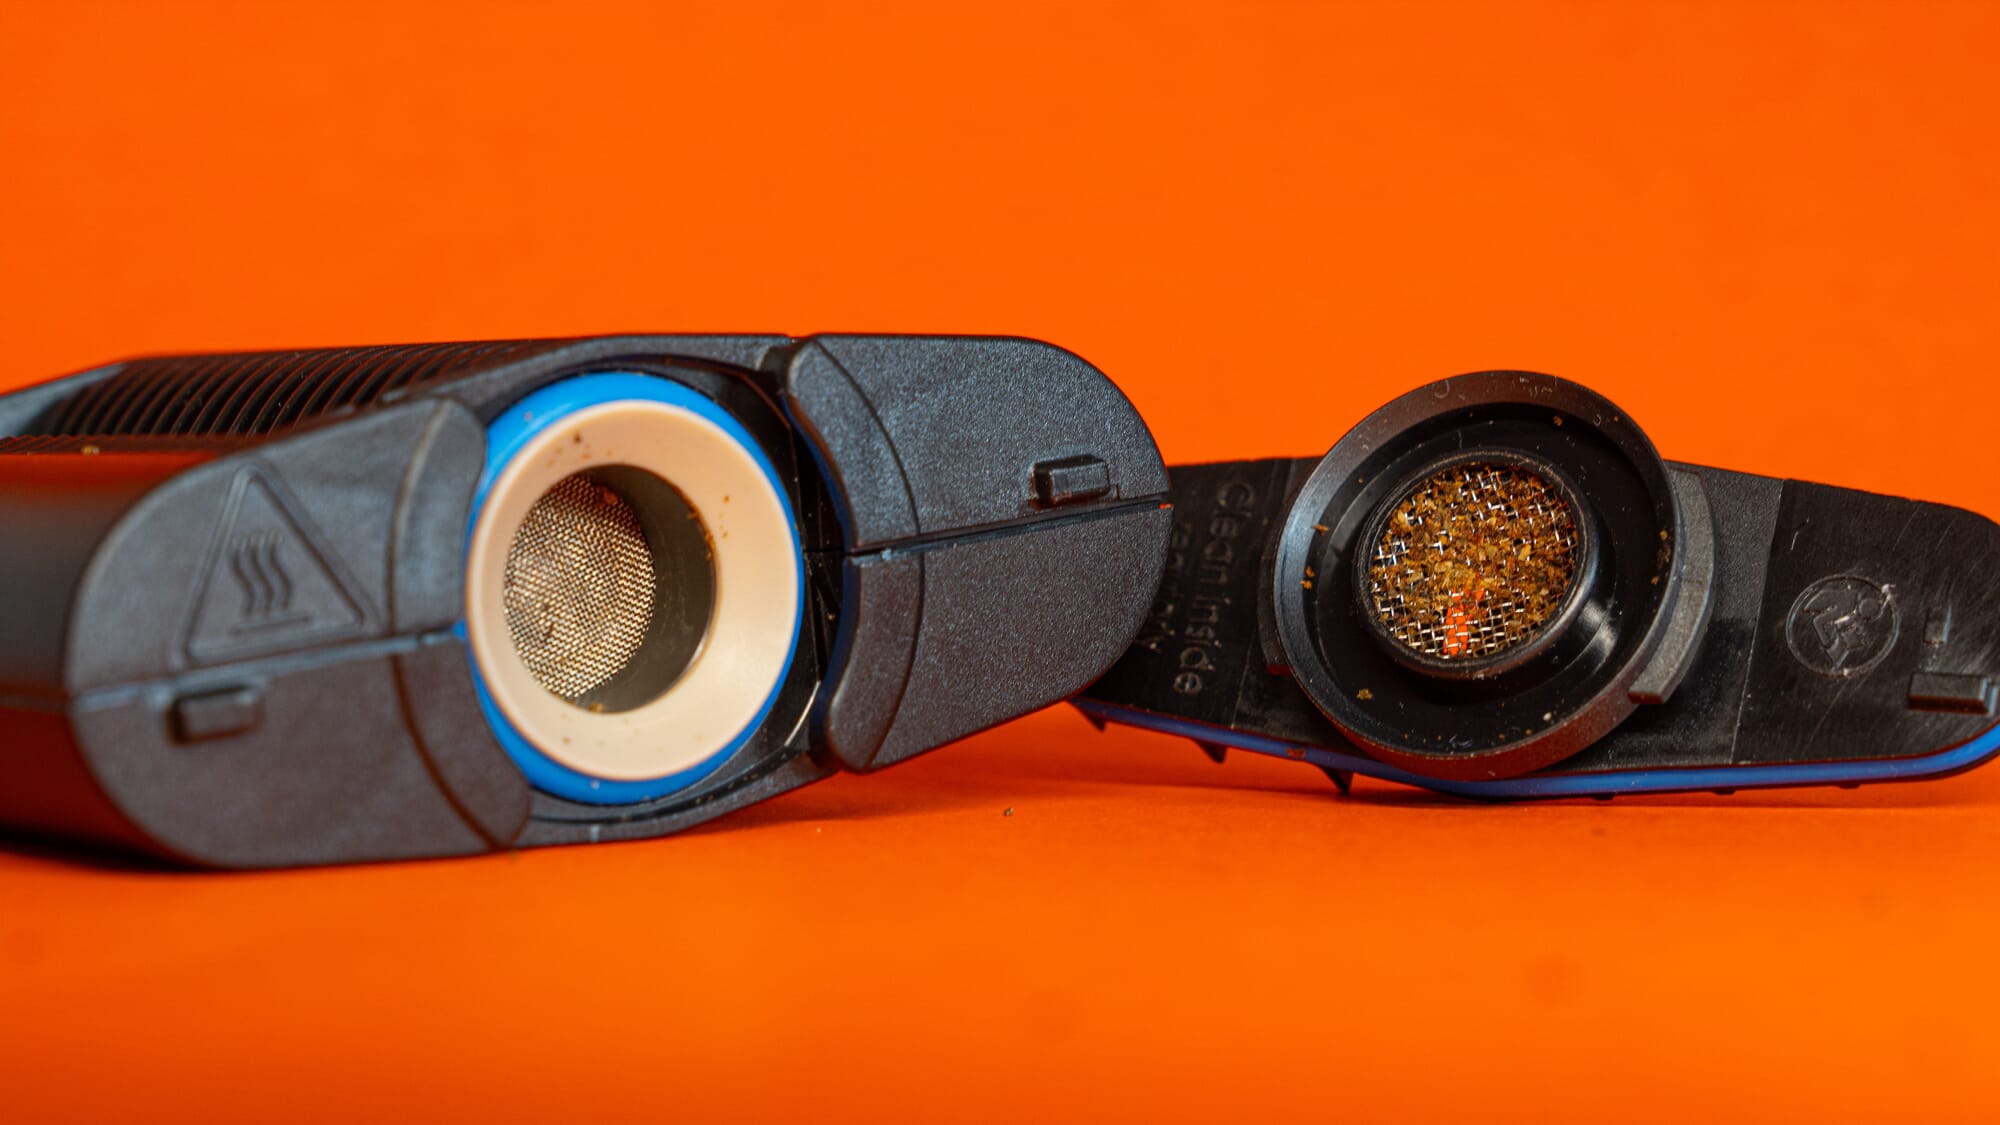
Additionally, that buildup is a perfect breeding ground for bacteria and other microbes that you don’t want to be inhaling. Regular cleaning keeps your vapor path hygienic and your vape hitting like it should. It also helps prevent damage and extends the life of parts like screens, gaskets, and heating elements.
What You’ll Need
Before we get into the steps, let’s go over the supplies you should have on hand for cleaning your vape:
- Isopropyl alcohol (91% or higher)
- Cotton swabs
- Pipe cleaners
- Paper towels
- Small cleaning brushes (usually included with vapes)
- A bowl or cup for soaking parts
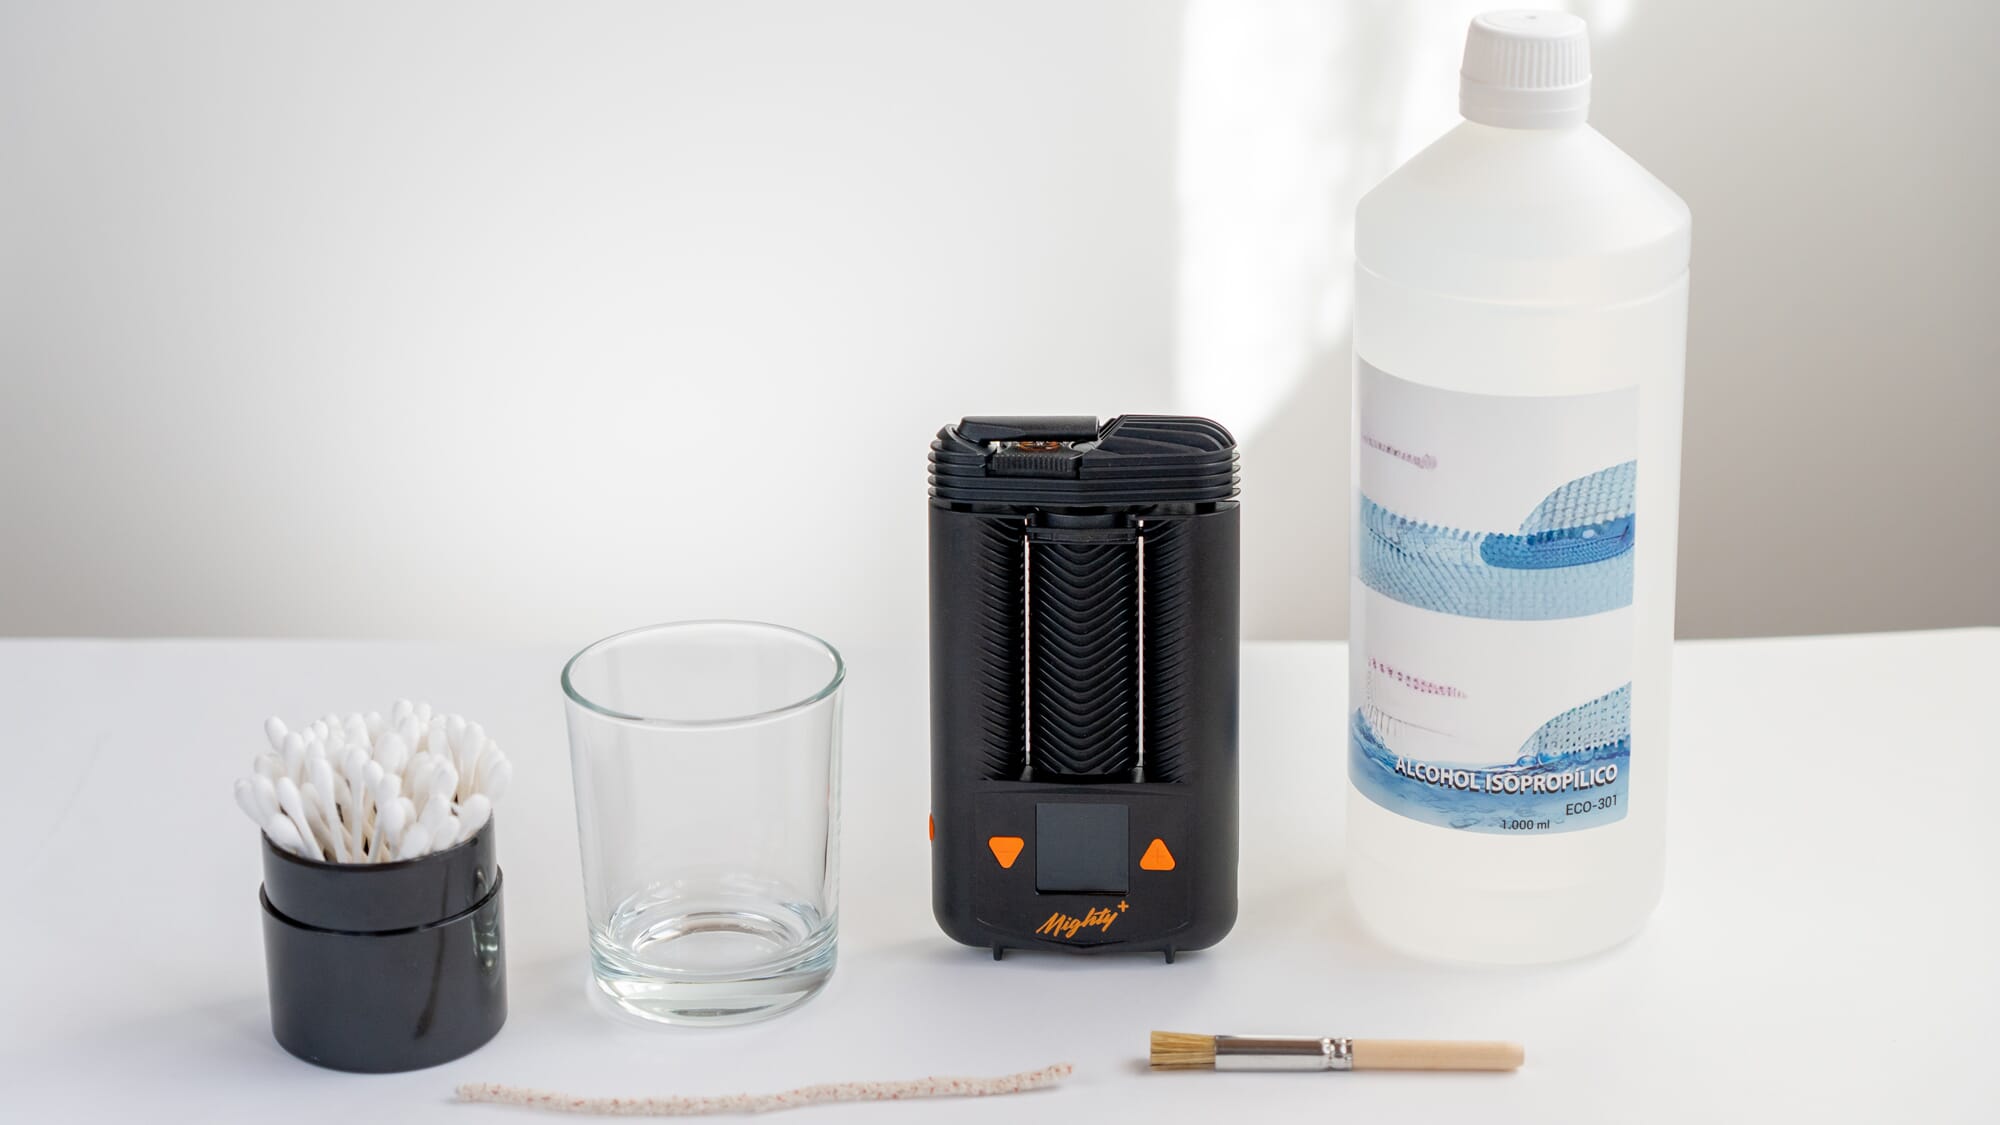
You can find vape cleaning kits that include many of these items. But most of them are probably already in your home. The key ingredient is the isopropyl alcohol – it’s the best solvent for dissolving sticky residue without damaging your vape. Avoid rubbing alcohol below 90%, as it contains too much water.
Basic Cleaning After Each Use
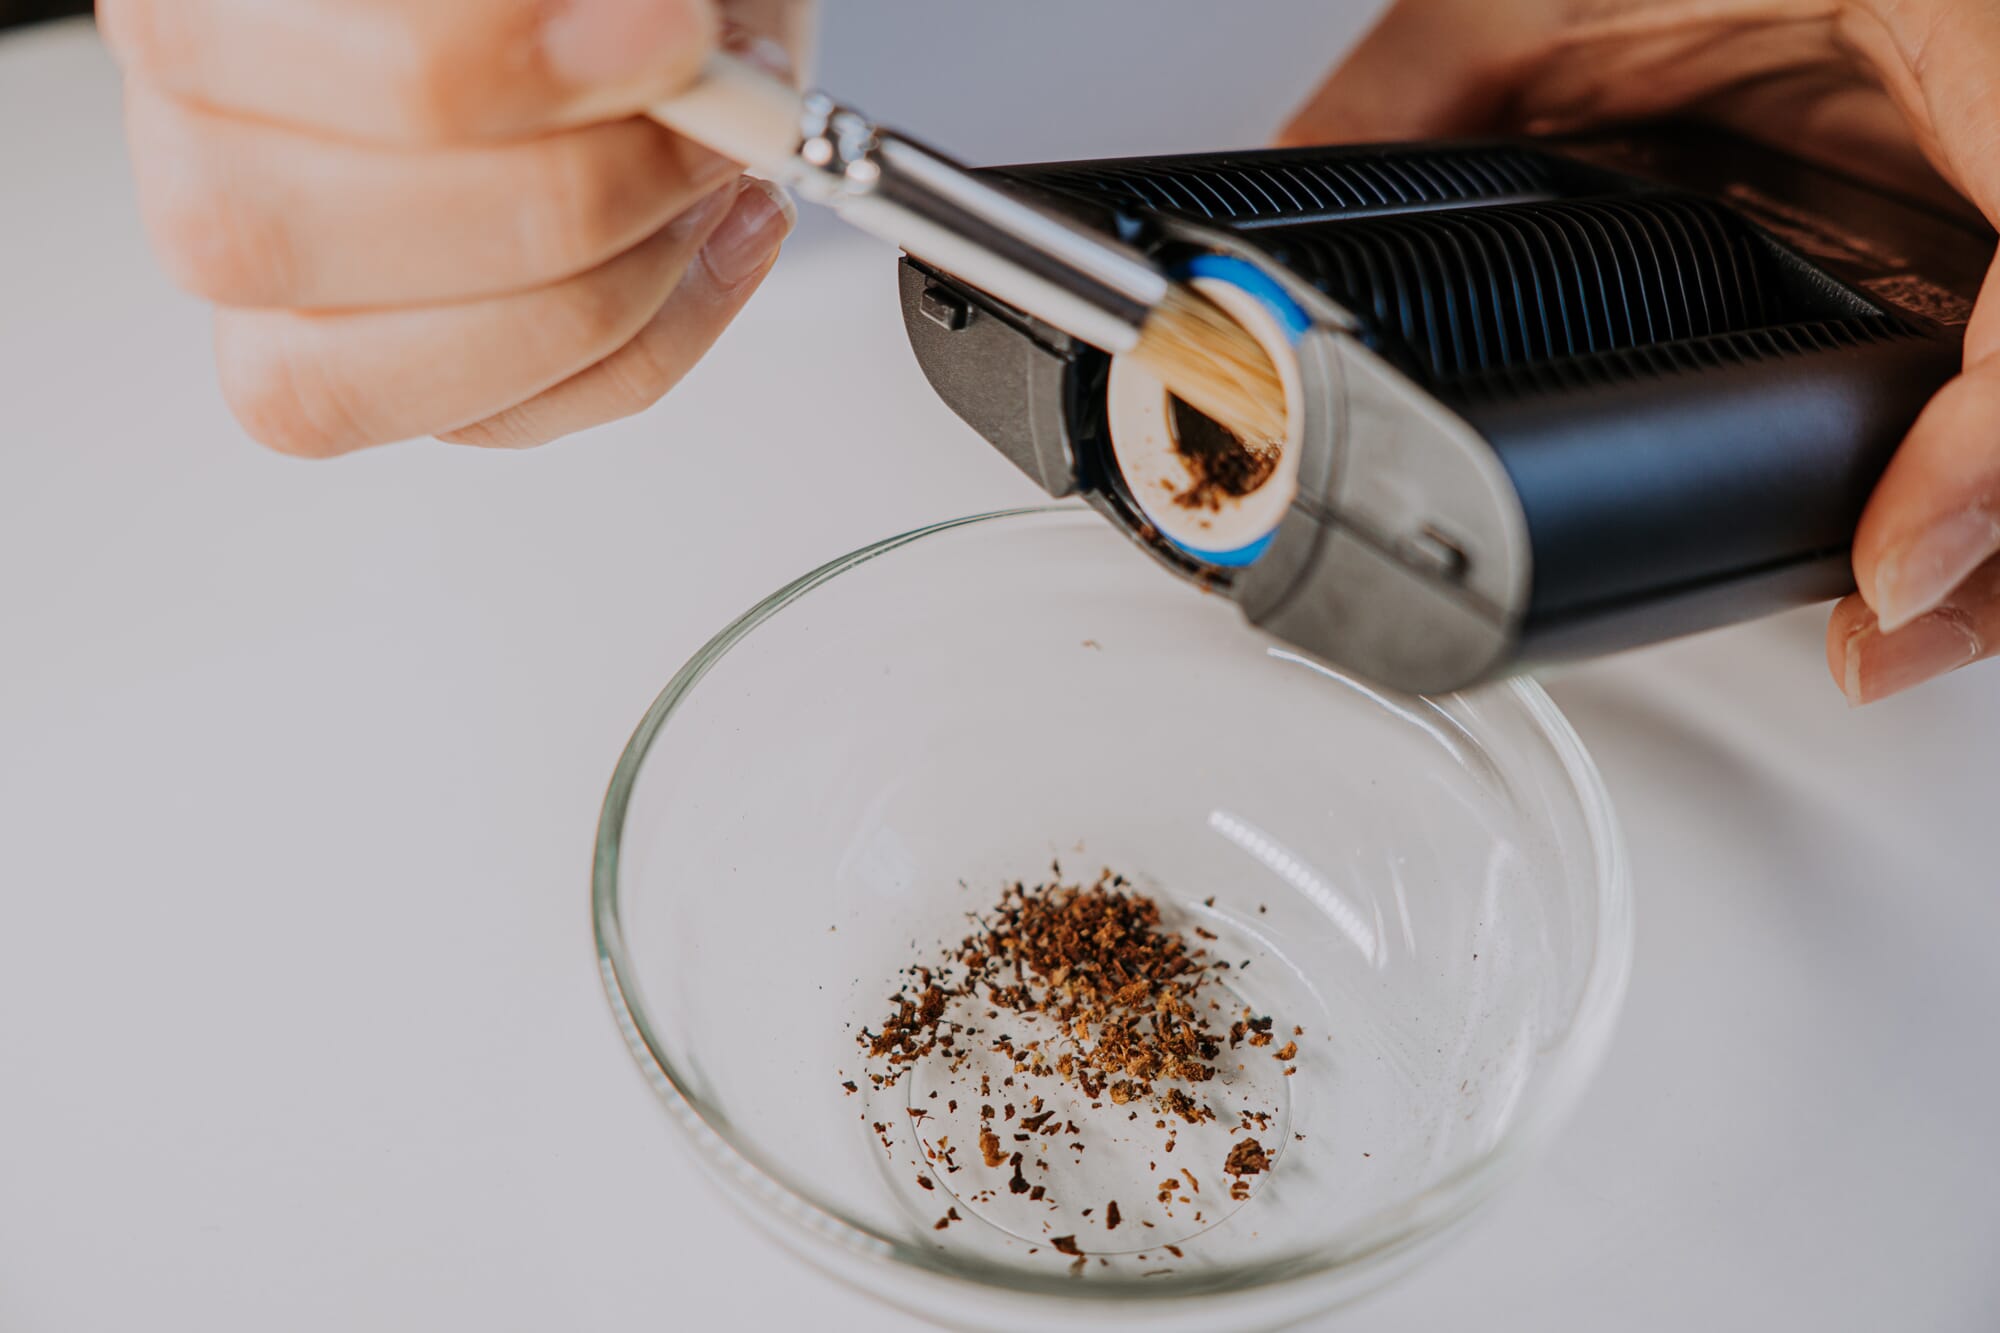
The simplest way to minimize buildup is to do a quick cleaning after each session. Most vapes come with a little brush or stir tool that’s perfect for this. Once your vape has cooled down a bit (but while it’s still warm), open up the oven and brush out any leftover material.
If there’s visible buildup on the screen or walls of the oven, scrape it off gently with a toothpick or pipe cleaner. Brush away the loosened residue. If your vape has a removable mouthpiece, pop that off and check for any debris in there as well. A quick wipe-down of the external body with a damp cloth keeps your device looking fresh.
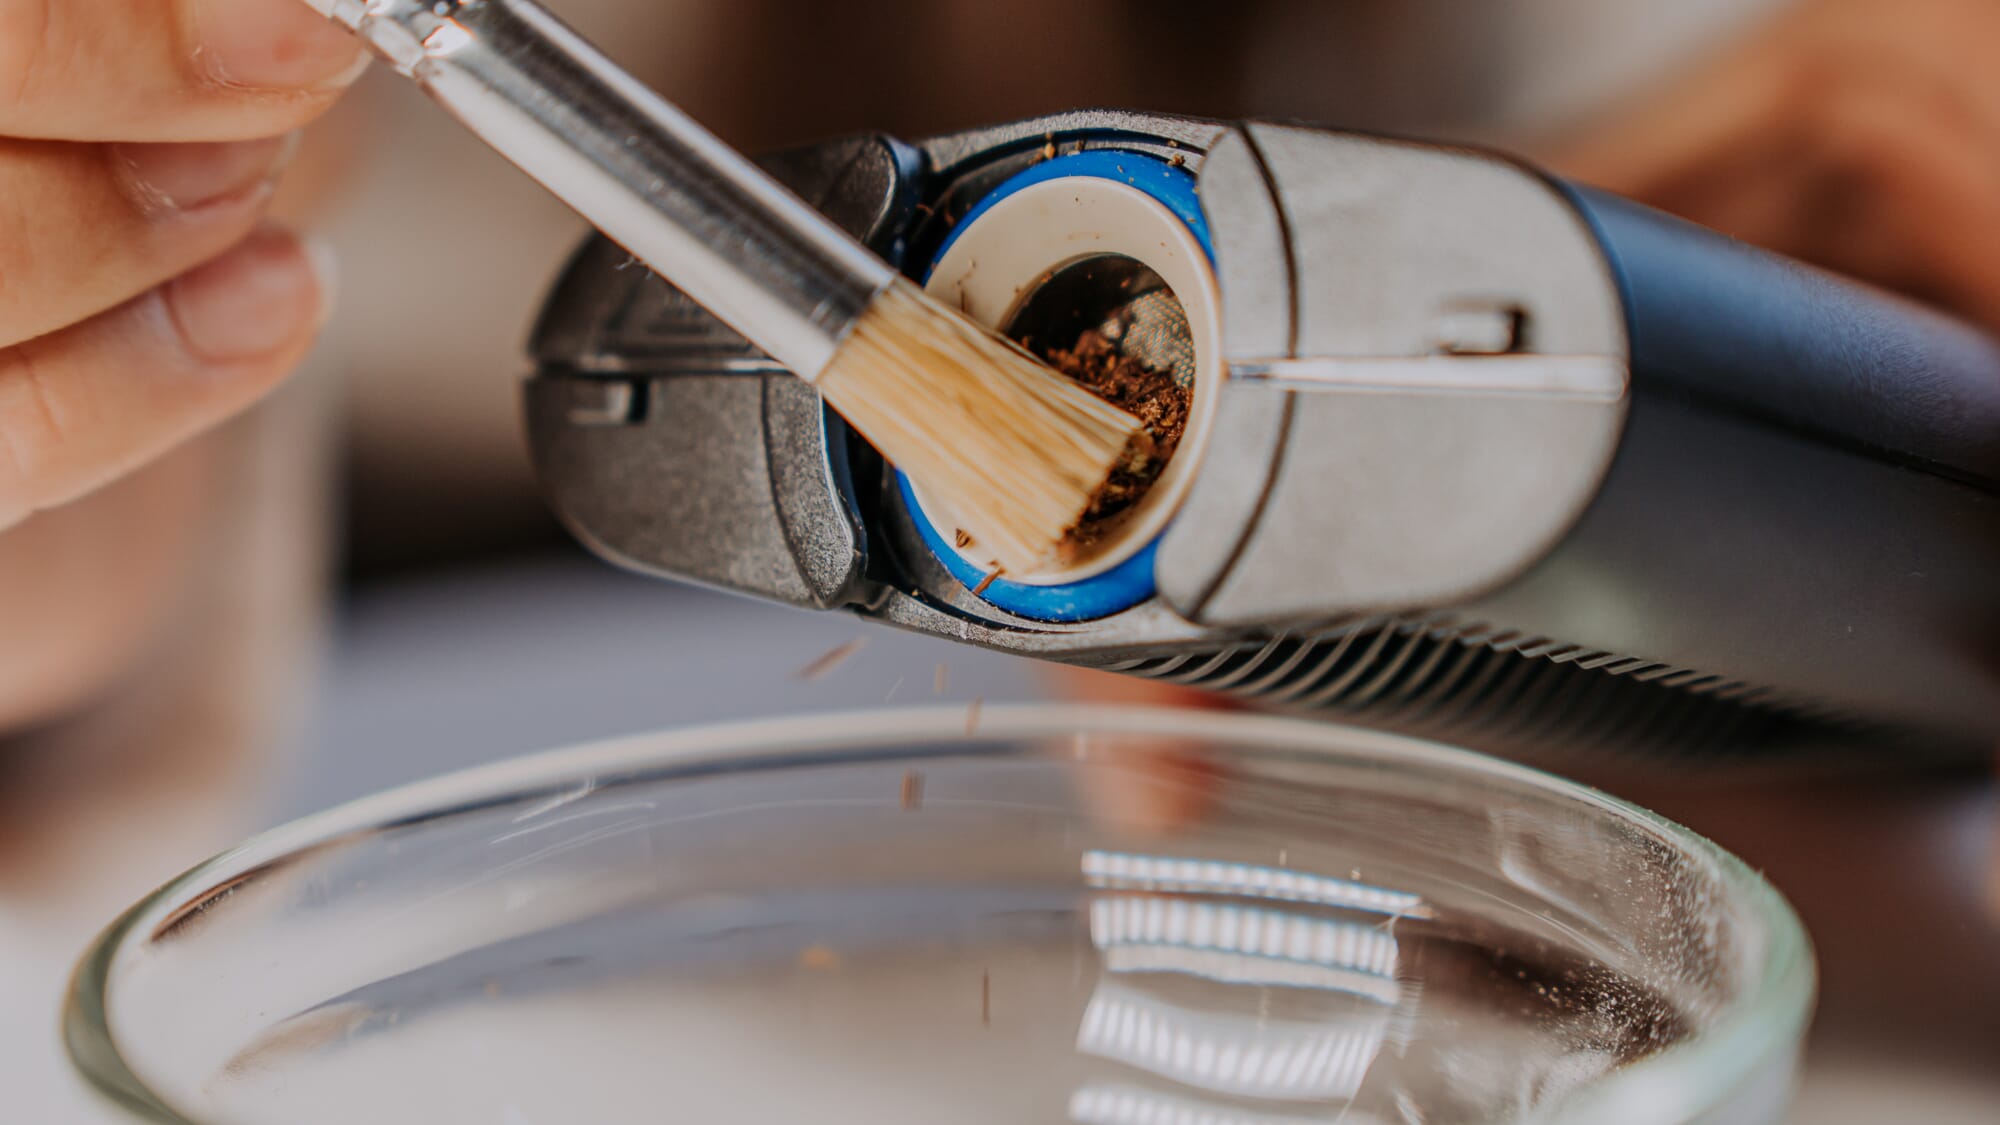
This 30-second habit goes a long way in keeping your vape clean between more thorough cleanings. But every week or two, or when you notice performance declining, it’s time to break out the alcohol. The frequency depends on how much you use your vape – heavy users may need to deep clean weekly, while light users can go longer.
Deep Cleaning
For this process, you’ll want to consult your vape’s user manual. Different models have different components that may need special handling. But in general, here are the steps:
Step 1: Disassemble
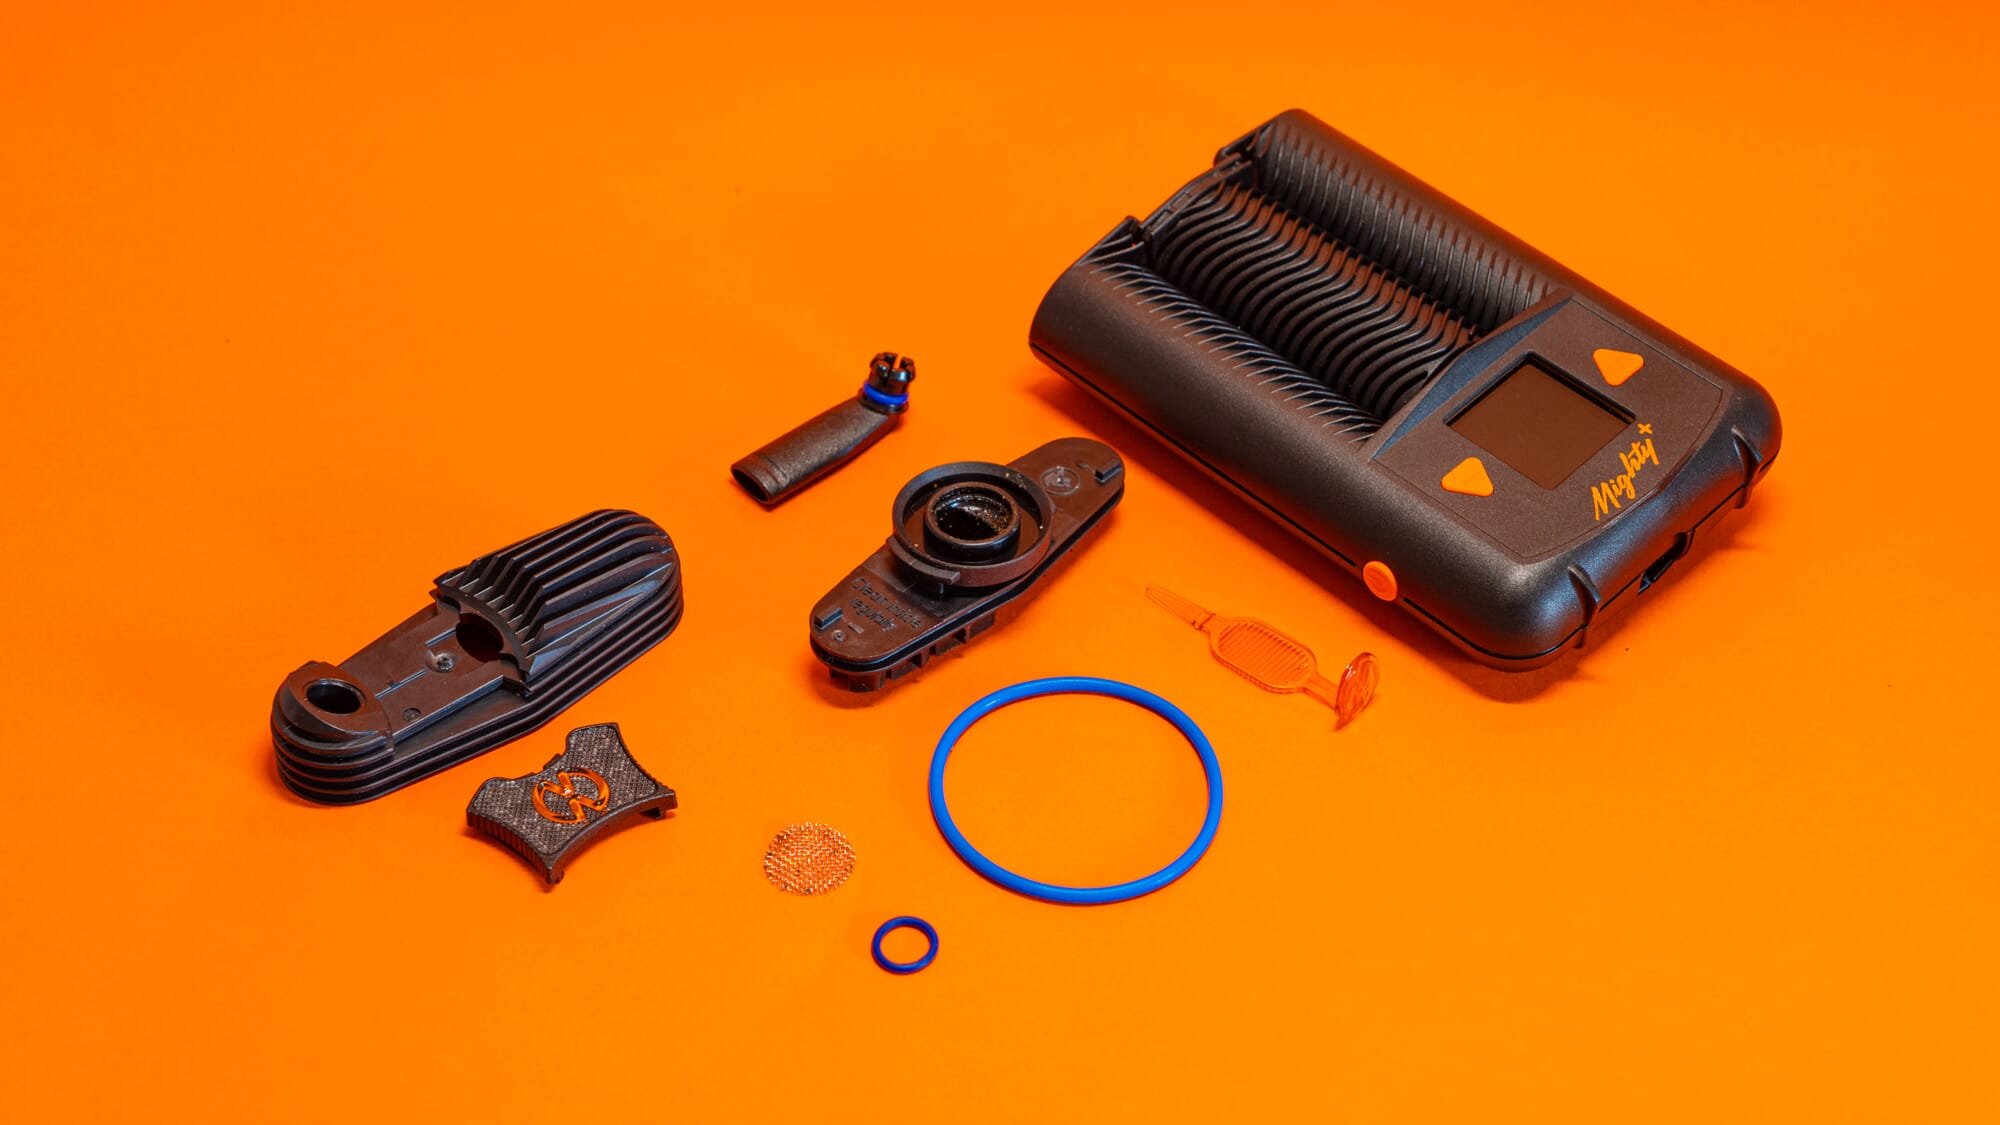
Take your vape apart as much as possible, separating the oven, vapor path, mouthpiece, and any screens or filters. Refer to your manual to avoid damaging any delicate parts. Dump out any leftover herb from the oven and brush away the loose bits.
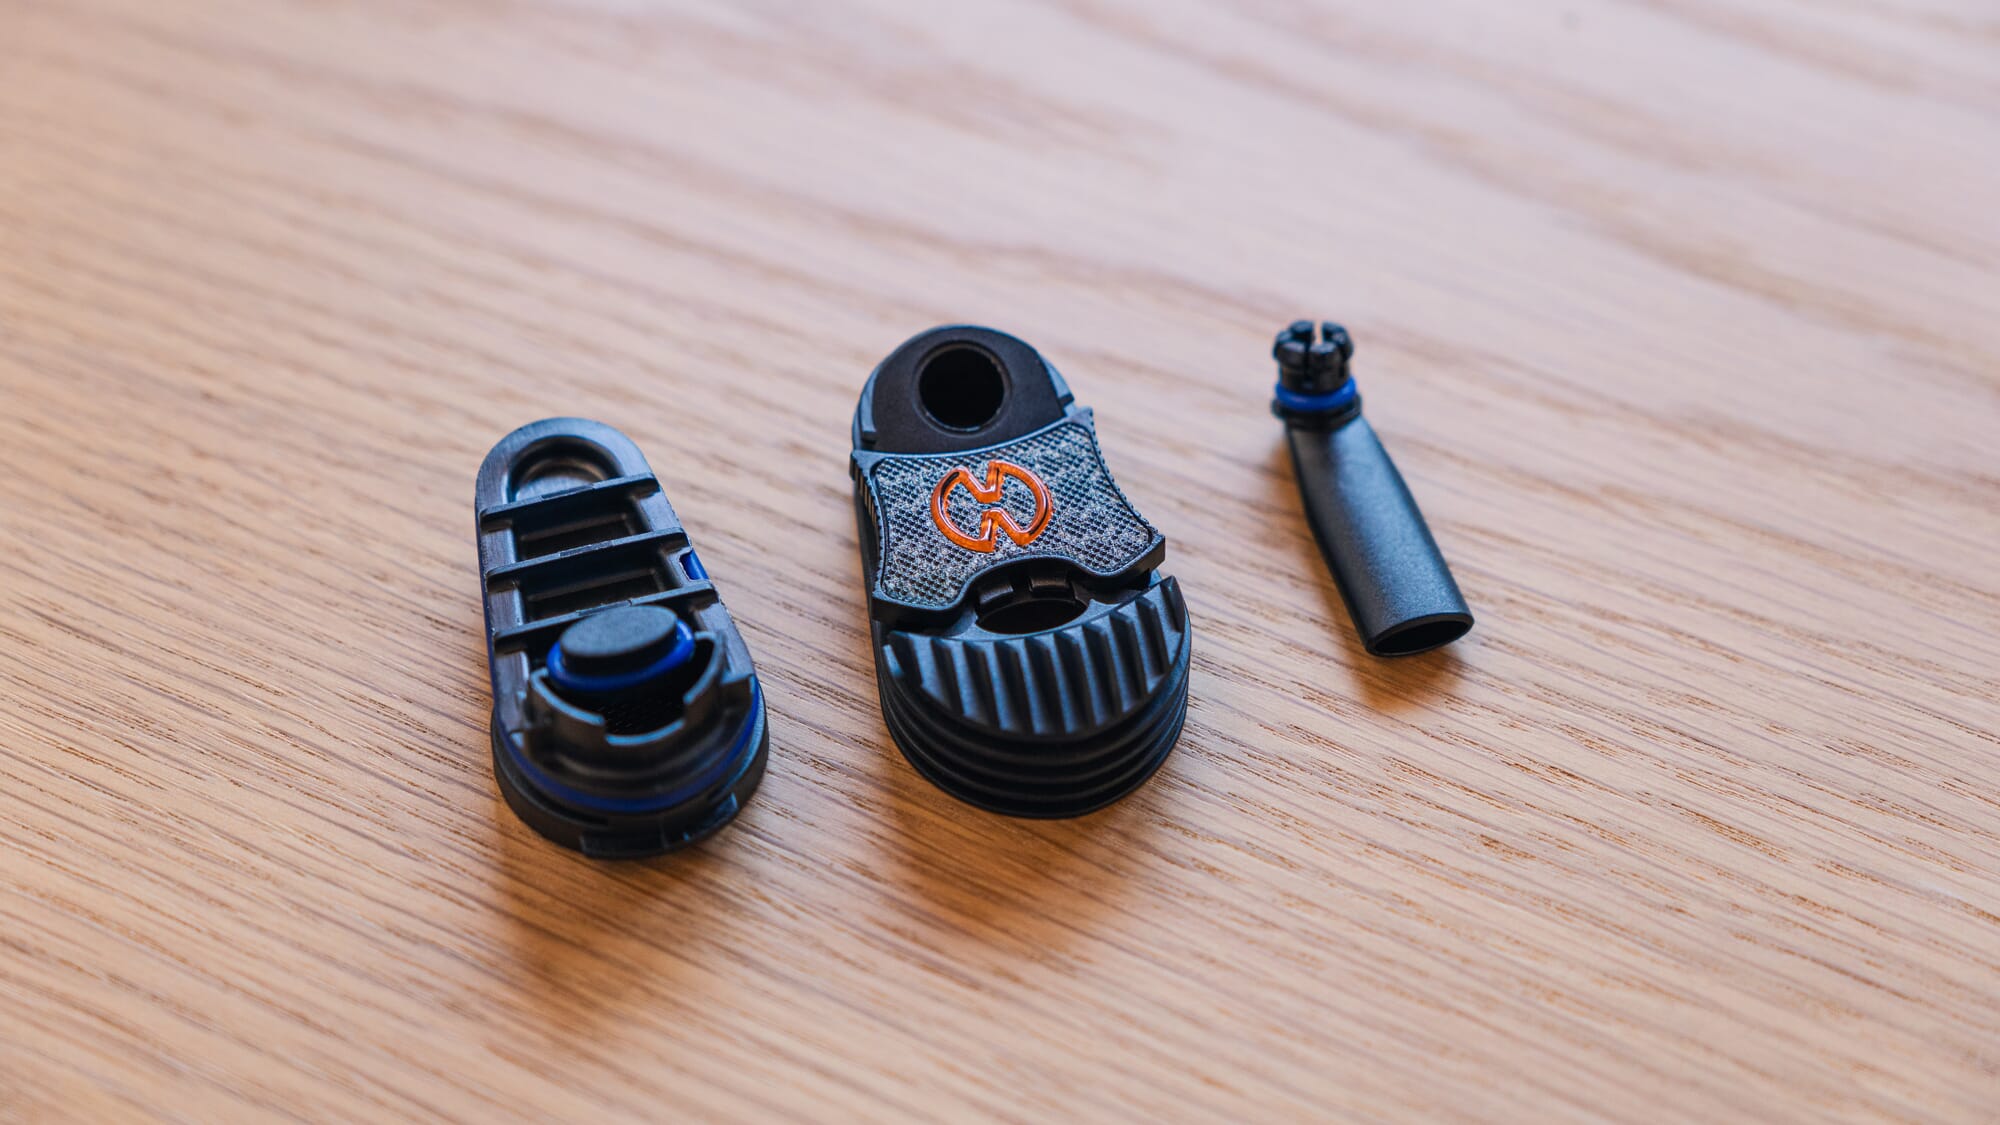
Step 2: Soak and Scrub
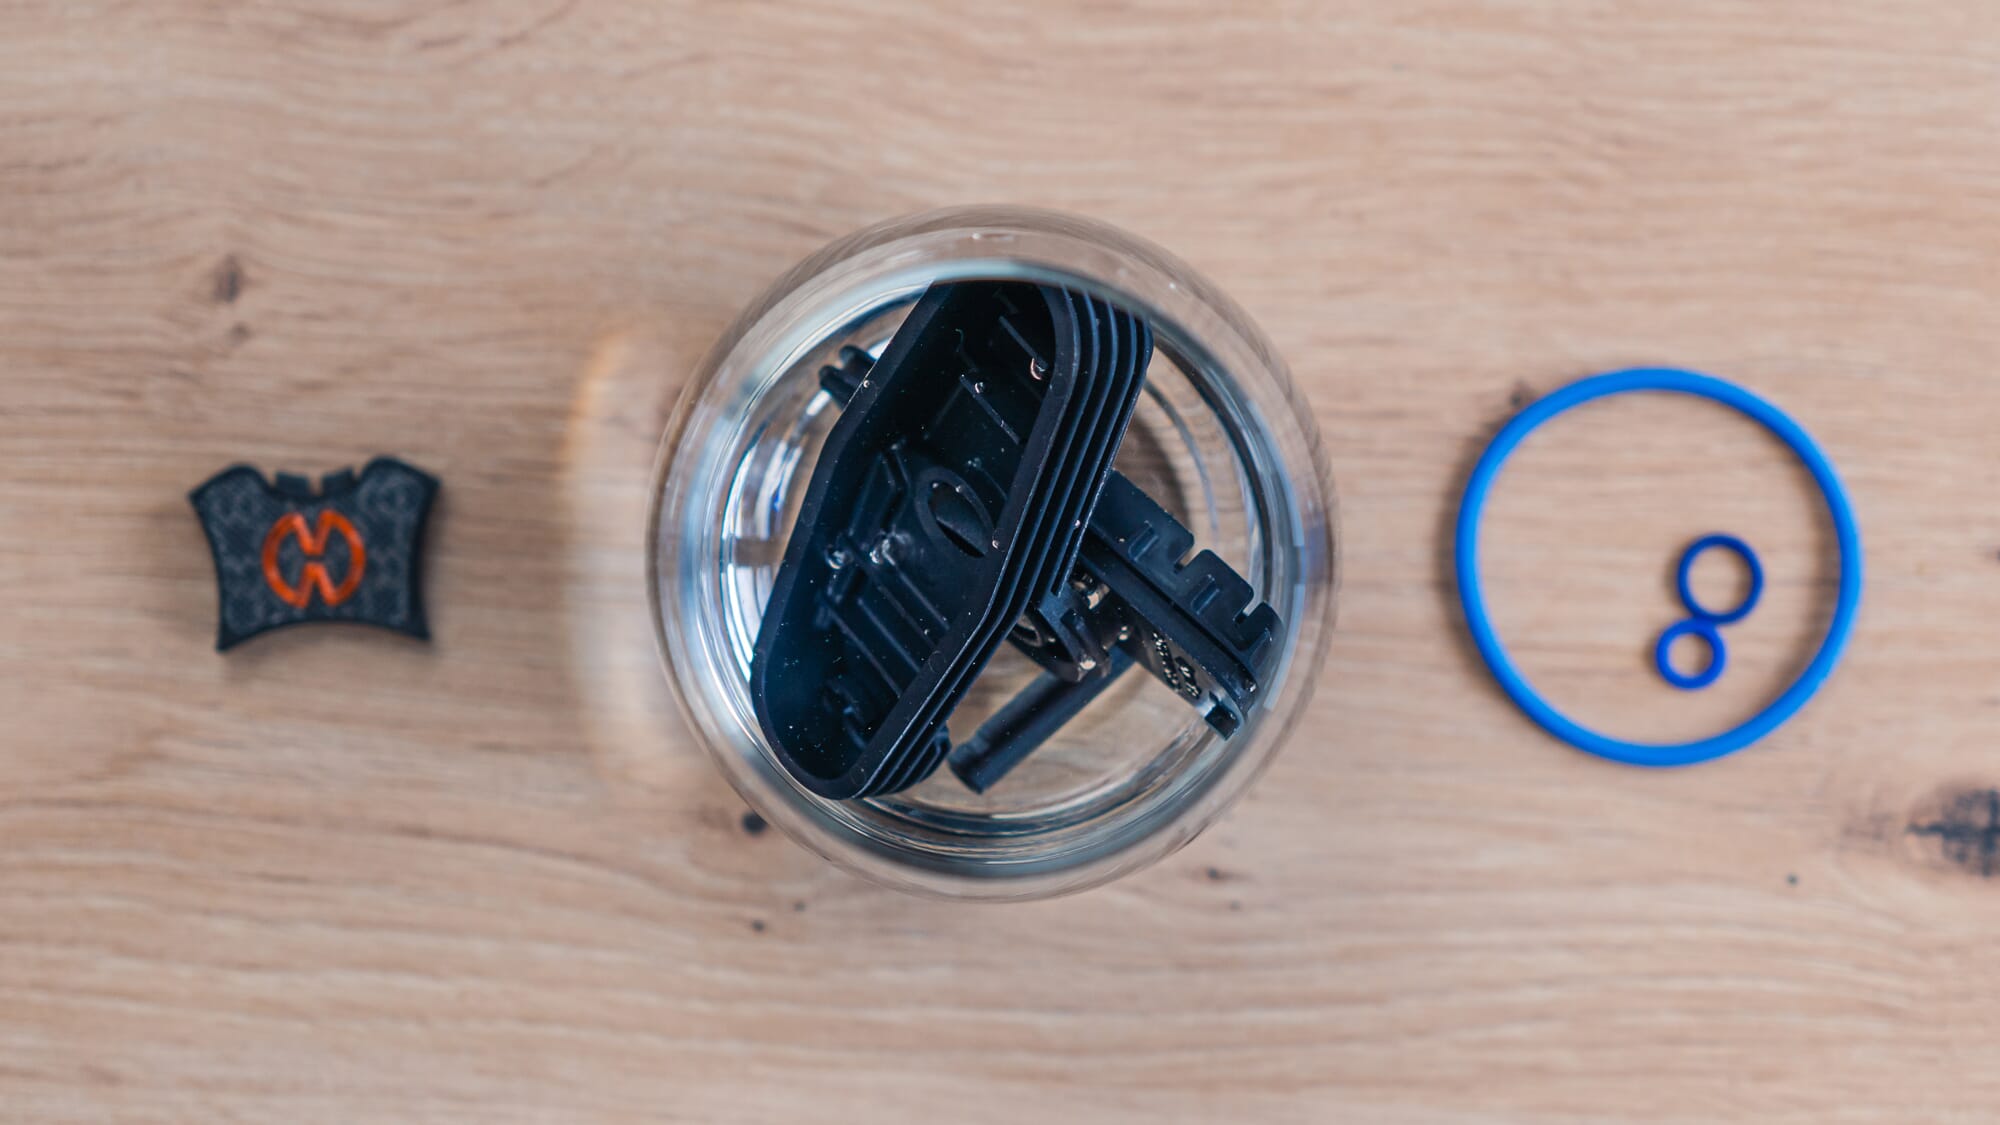
Place the small, removable components like the mouthpiece, screens, and any glass or metal pieces in a bowl of isopropyl alcohol. Let them soak for about 30 minutes. This will dissolve most of the stubborn residue. In the meantime, dip a cotton swab in alcohol and carefully clean the oven, heating element, and vapor path.
For vapes with hard-to-reach spots like the PAX Plus, try an alcohol-soaked pipe cleaner. Be gentle with electronic components and wiring. Never submerge your vape’s battery or controls in liquid. After soaking, use brushes, swabs or toothpicks to scrub away any remaining gunk on the parts. Rinse them thoroughly with warm water.
Step 3: Rinse and Dry
After soaking and scrubbing, rinse all the parts thoroughly under warm running water. This is important to remove any residual alcohol, which you definitely don’t want to be inhaling. Shake off the excess water and lay out the pieces on a paper towel to air dry completely. You can also use a can of compressed air to blow water out of hard-to-reach spots.
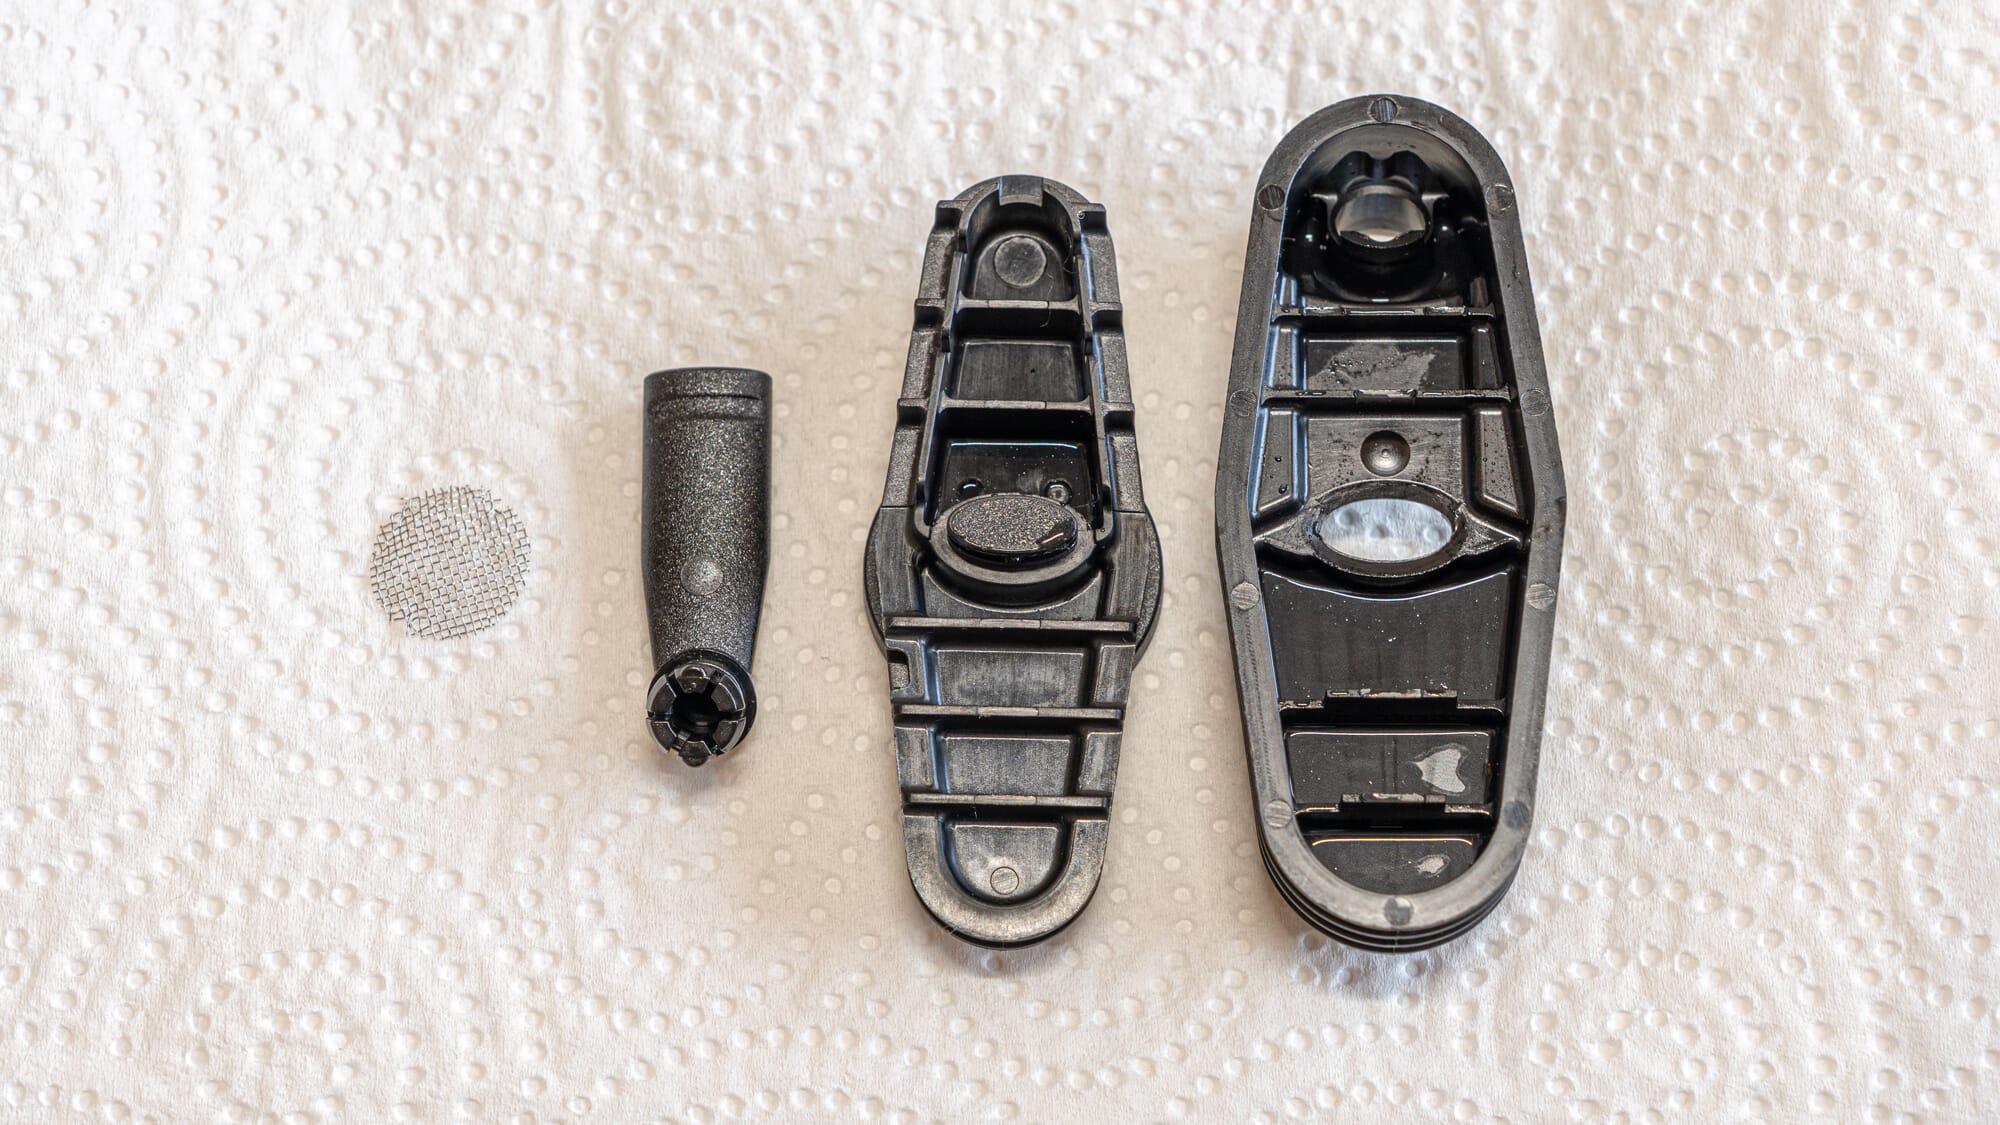
For the body of your vape, wipe it down thoroughly with a paper towel or cloth to remove any cleaning residue. If your screens are looking worn out or have stubborn buildup, now is a good time to replace them. Most vape manufacturers sell replacement screen packs.
Step 4: Reassemble and Test
Once everything is completely dry (this is crucial!), carefully reassemble your vape. Refer to your manual again if needed. Before you load it up with fresh herb, turn it on and run a heating cycle or two to burn off any remaining alcohol fumes. You might notice a slight smell at first, but it should fade quickly.
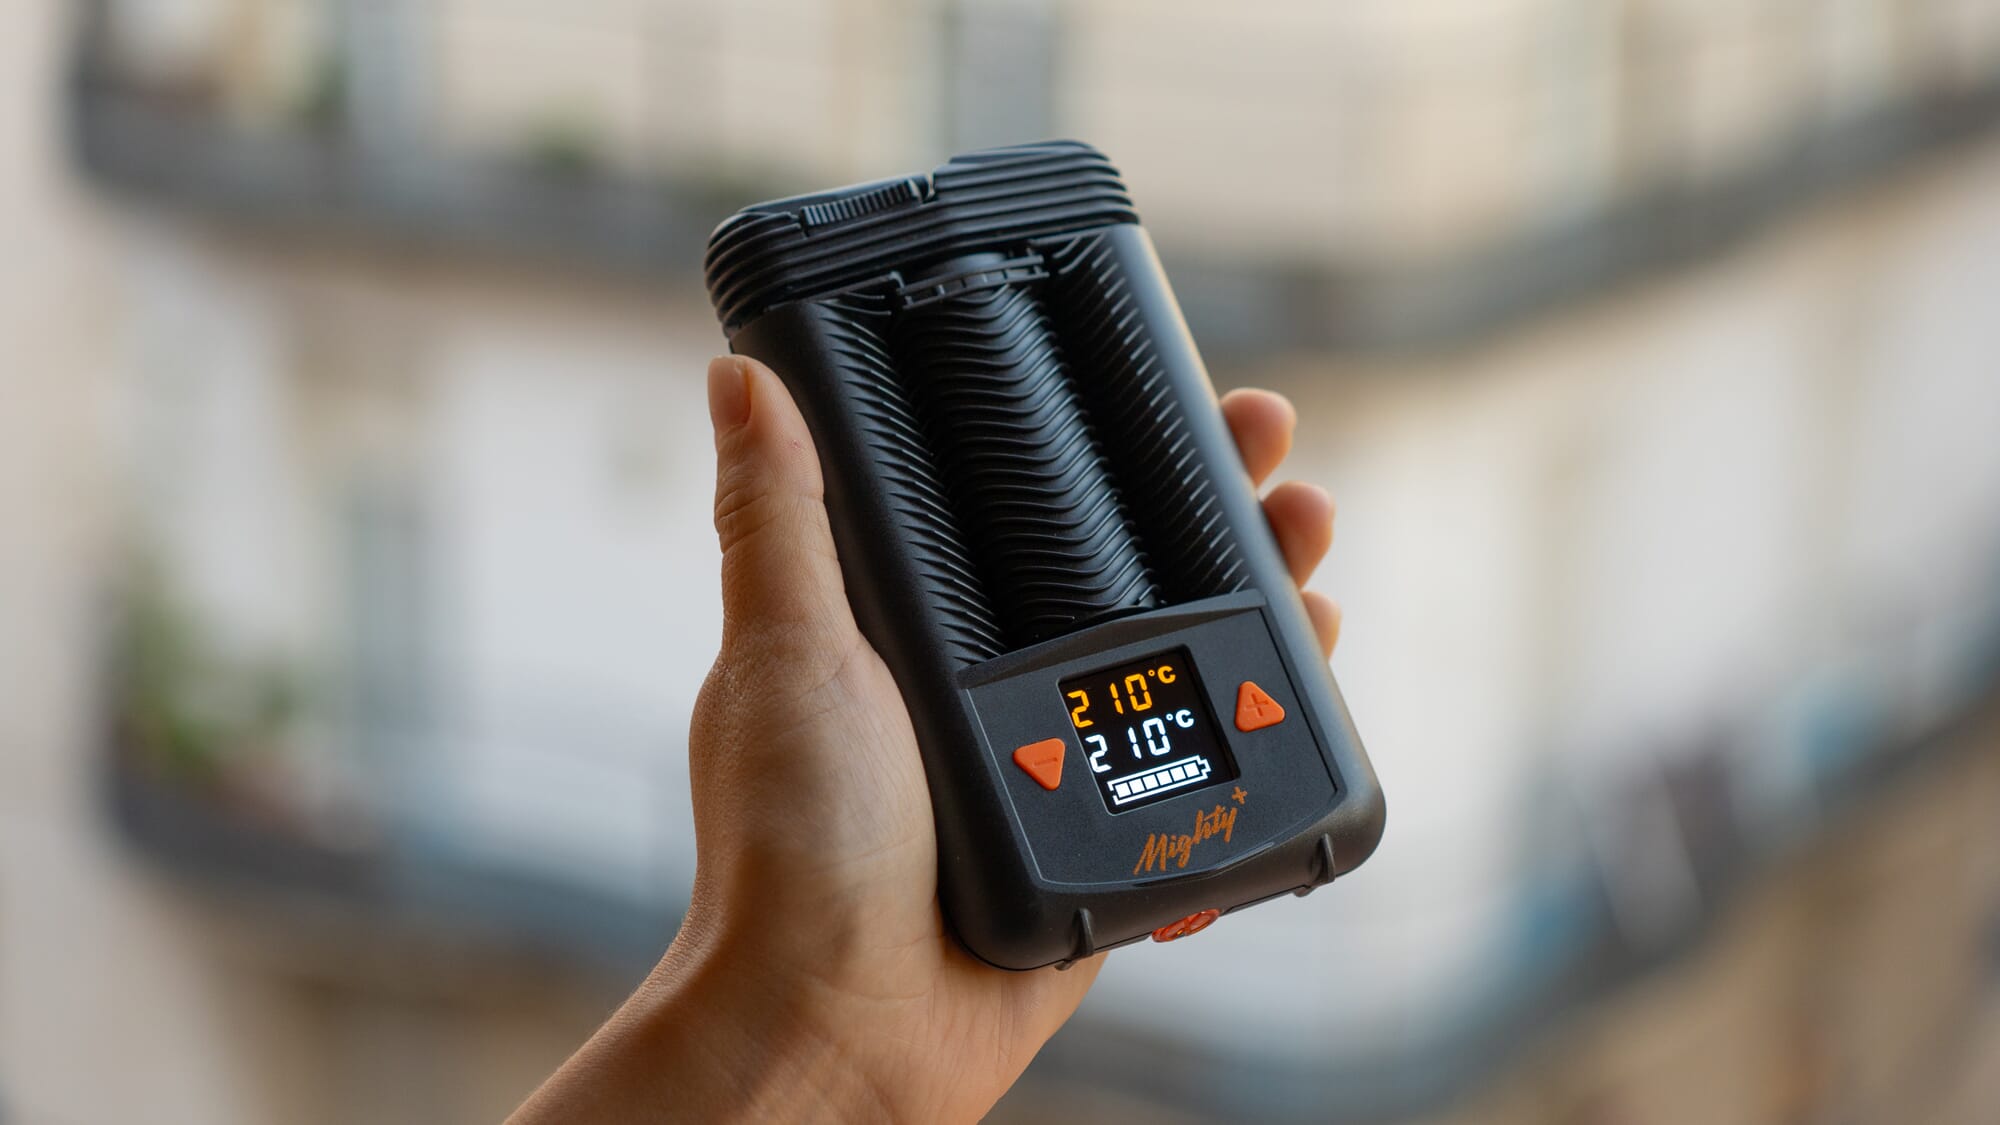
If your vape has adjustable temperature settings, this is a good opportunity to run it at the highest setting for a burnoff cycle. Models like the Volcano Hybrid or the Tinymight 2 excel at this thanks to their wide temperature range and quick heatup.
Tips for Specific Vape Types
While the general cleaning process is similar across the board, there are some special considerations for different styles of vaporizers. Here are a few tips:
Dry Herb Vapes
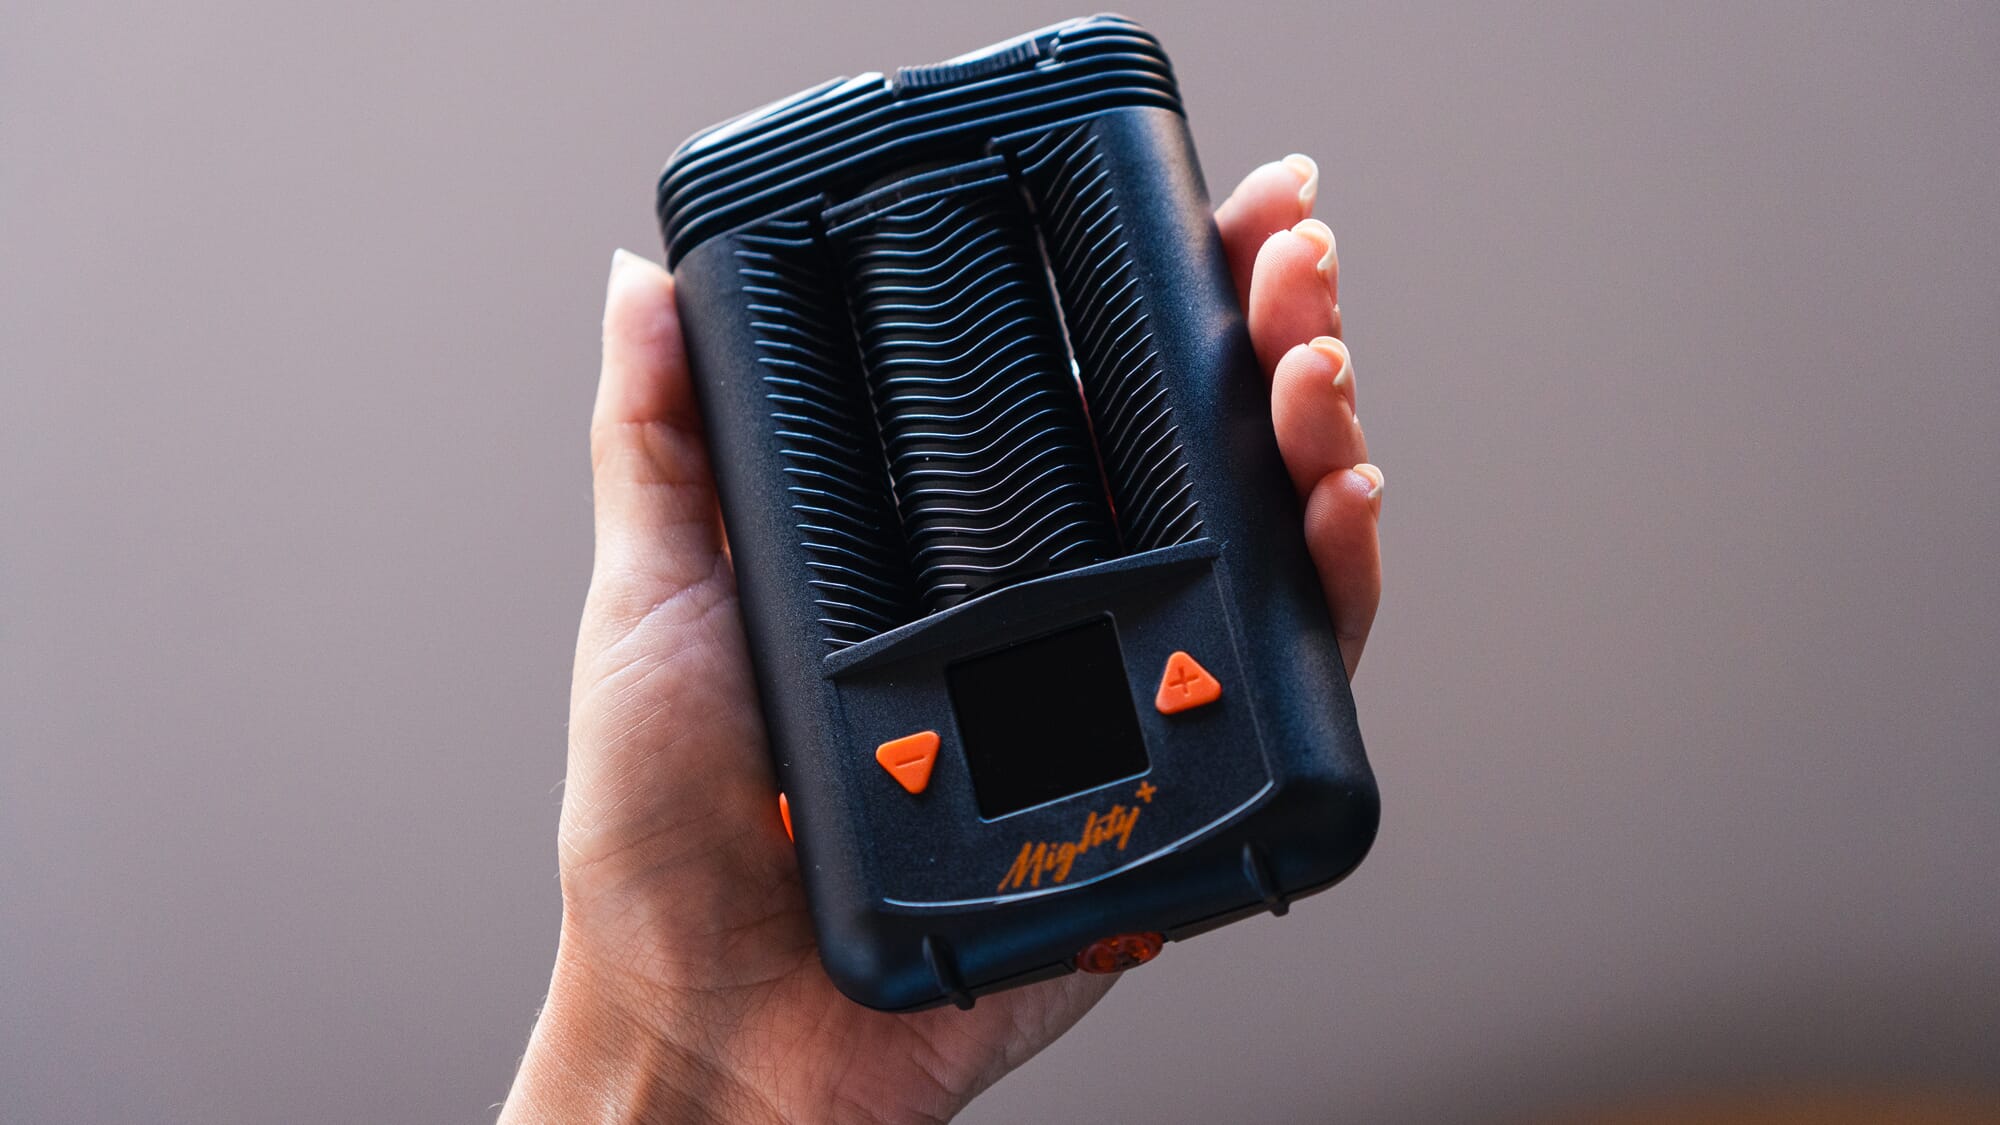
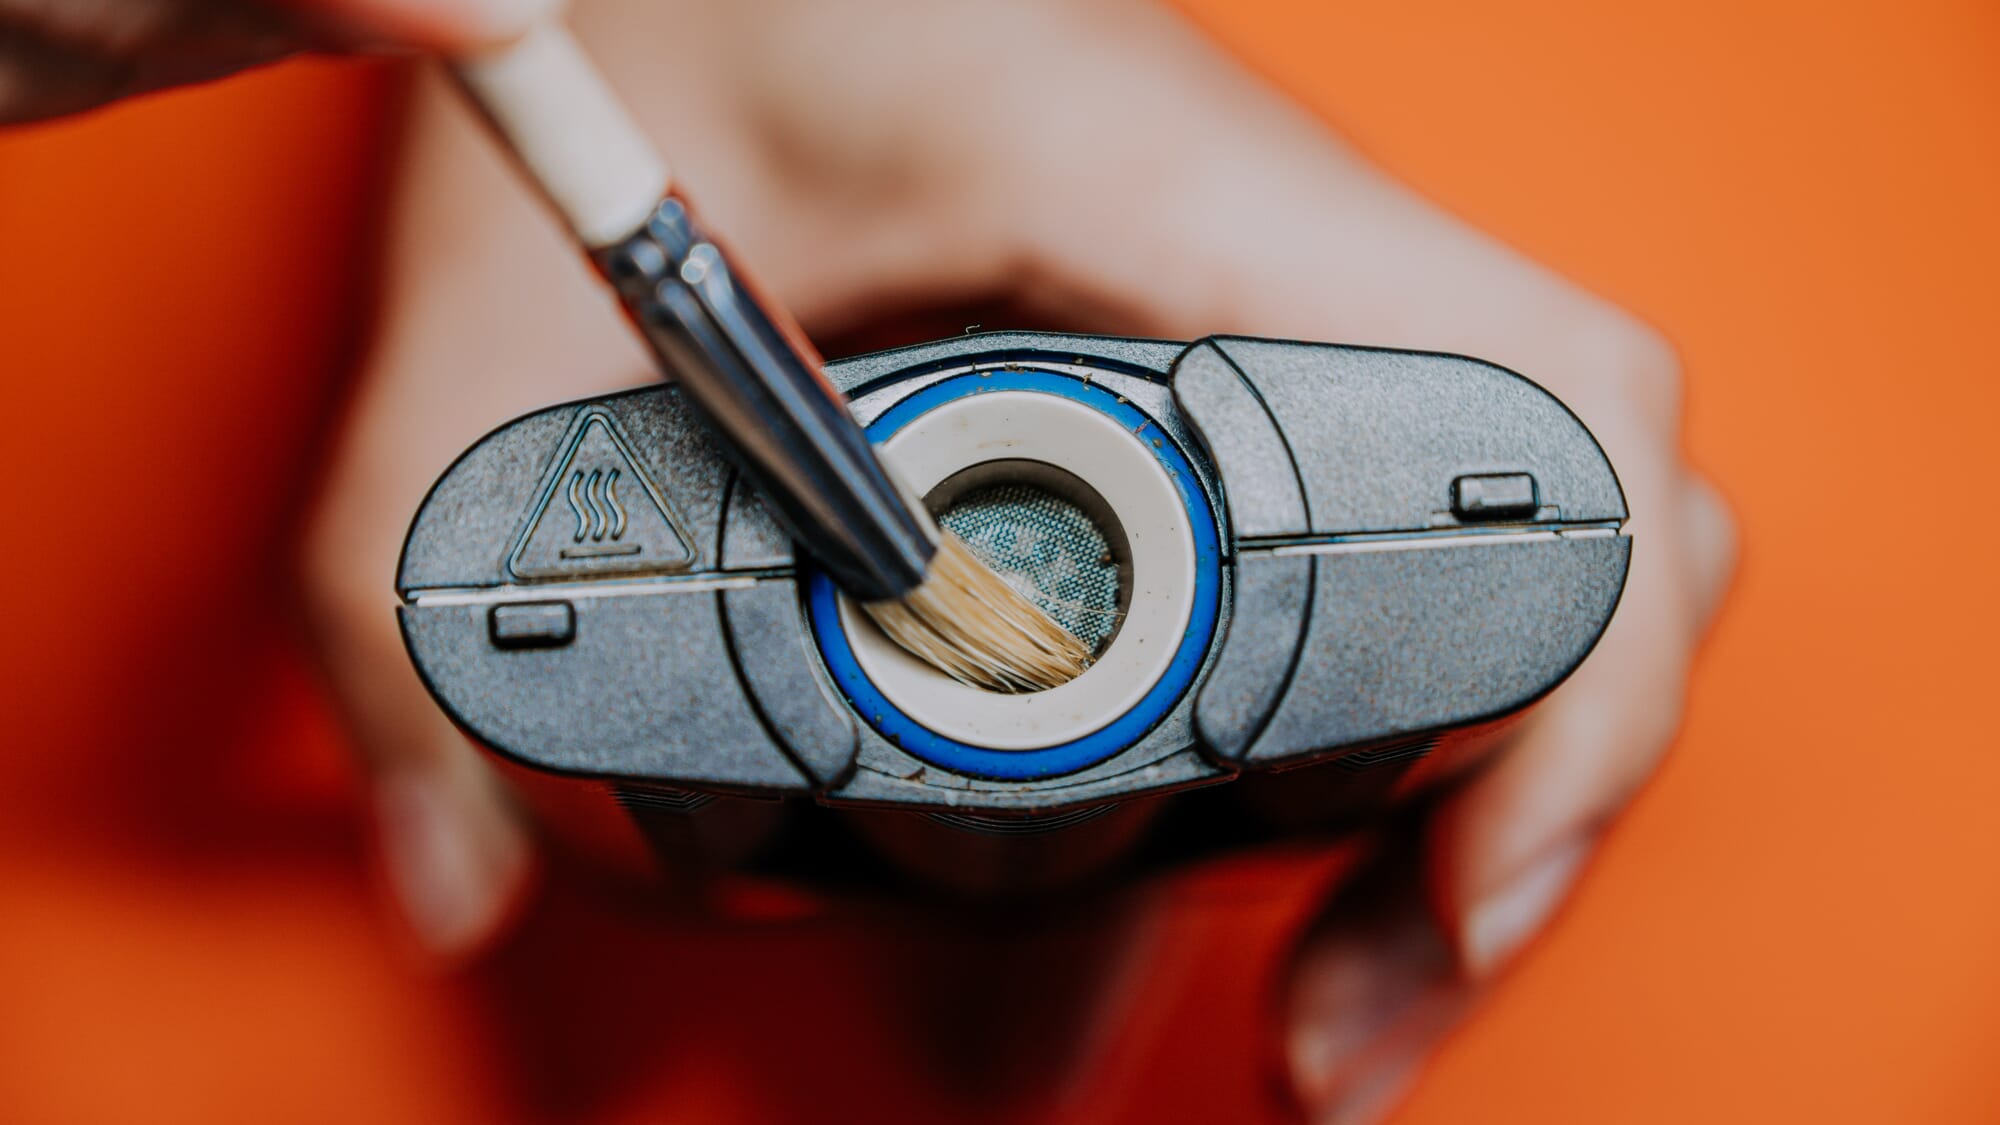
For vapes with large ovens like the Mighty+, you may find it helpful to use a small, soft-bristled brush to get the corners. Be extra careful when cleaning the screens, as they can be delicate. If your vape uses dosing capsules, soak those in alcohol too.
Concentrate Vapes
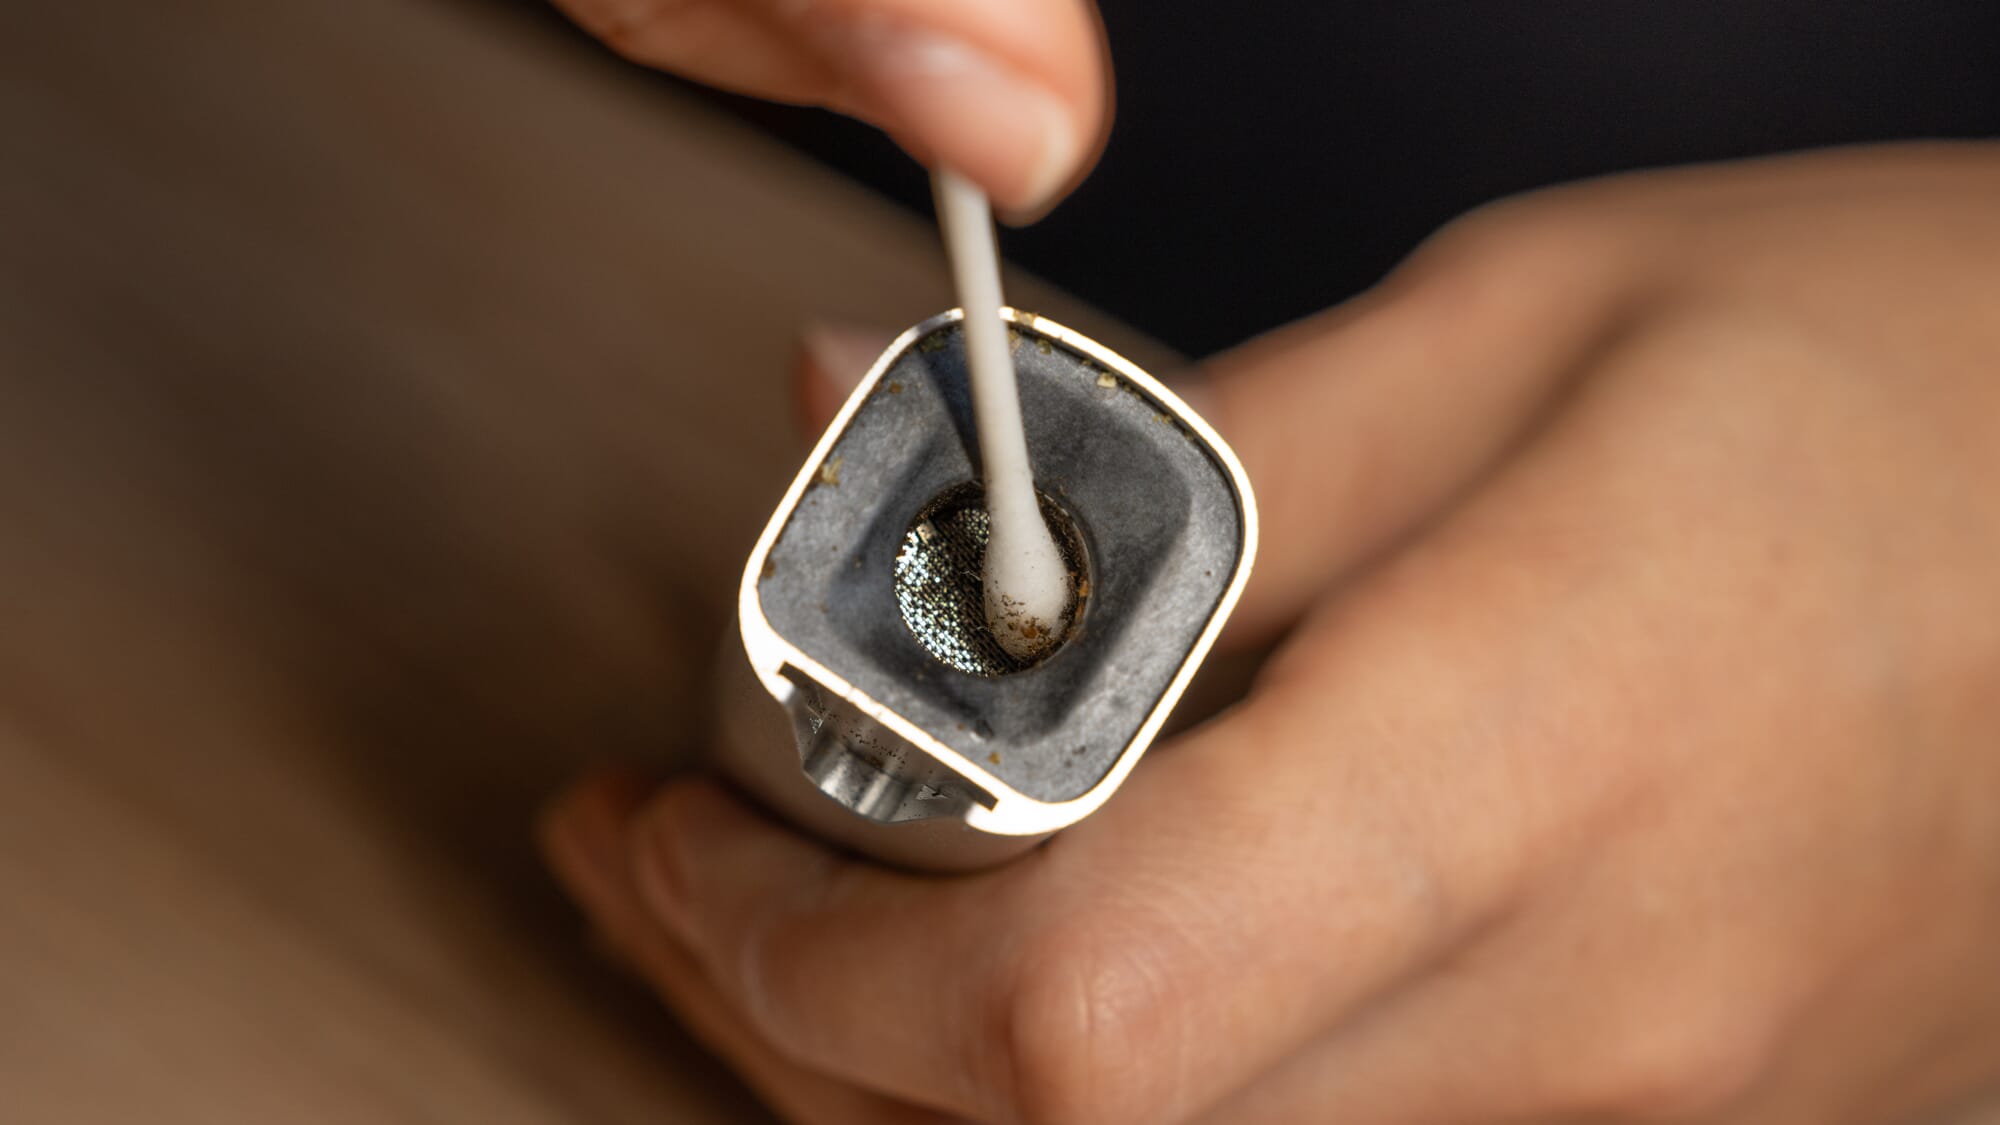
Residue from concentrates can be especially stubborn due to their stickiness. You may need to let the parts soak longer, and use a bit more elbow grease when scrubbing. Q-tips dipped in alcohol are your friend here.
Convection Vapes
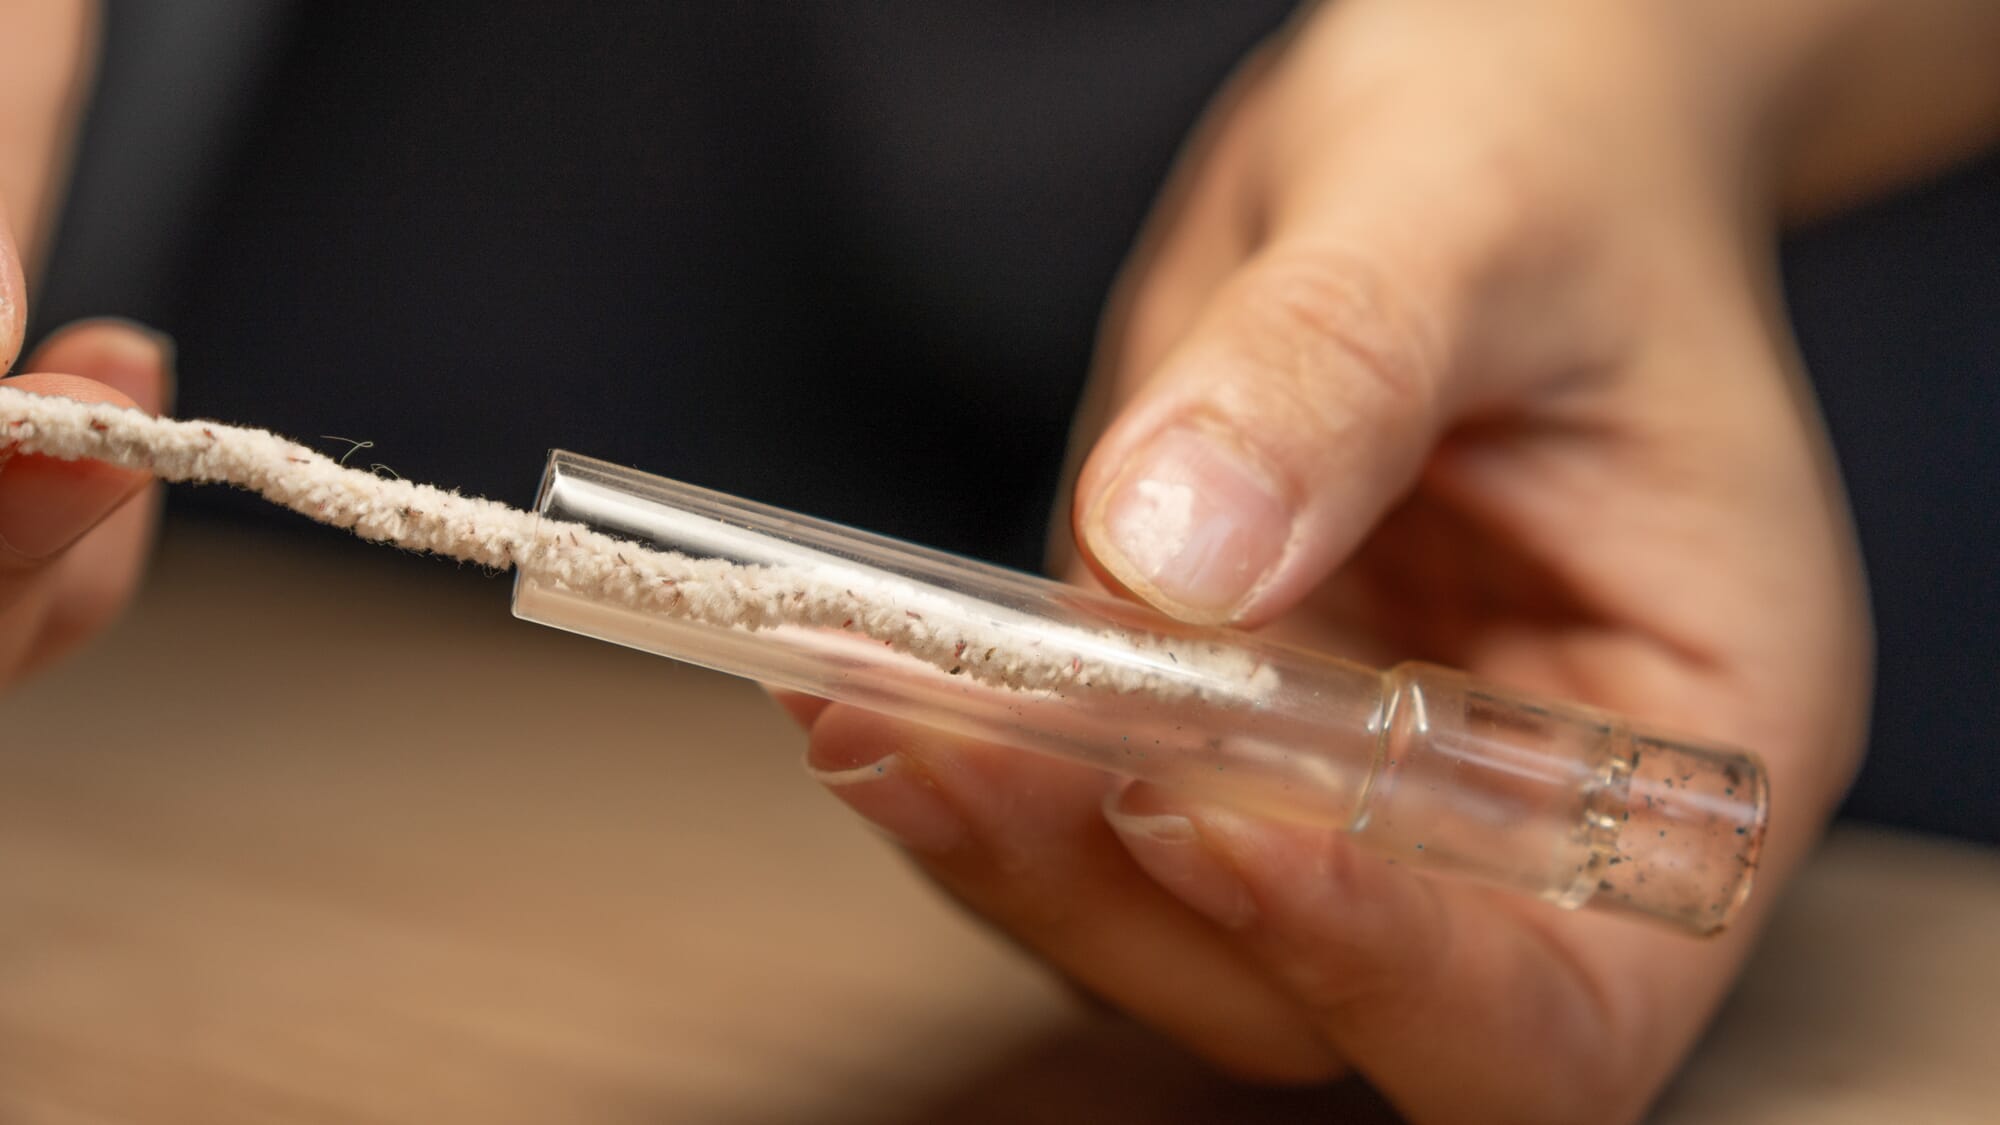
Vapes that use convection heating, like the Wolkenkraft ÄRiS Ultra, tend to stay cleaner than conduction vapes since the herb isn’t in direct contact with the heating element. However, bits of herb can sometimes get blown into the vapor path, so be sure to check and clean those airways thoroughly.
Maintenance Tips to Keep Your Vape Cleaner Longer
In addition to regular cleaning, there are a few habits you can adopt to keep your vape in top shape and minimize the need for deep cleans:
- Brush out your oven after each session while it’s still warm (but not hot).
- Don’t overpack your oven. Leaving some room for airflow helps prevent bits of herb from being sucked into the vapor path.
- Use a fine grind, but not too fine. A consistency similar to table salt is ideal for most vapes.
- Empty out your oven completely after each session. Leaving old herb in there to reheat can cause it to get sticky and adhere to the oven walls.
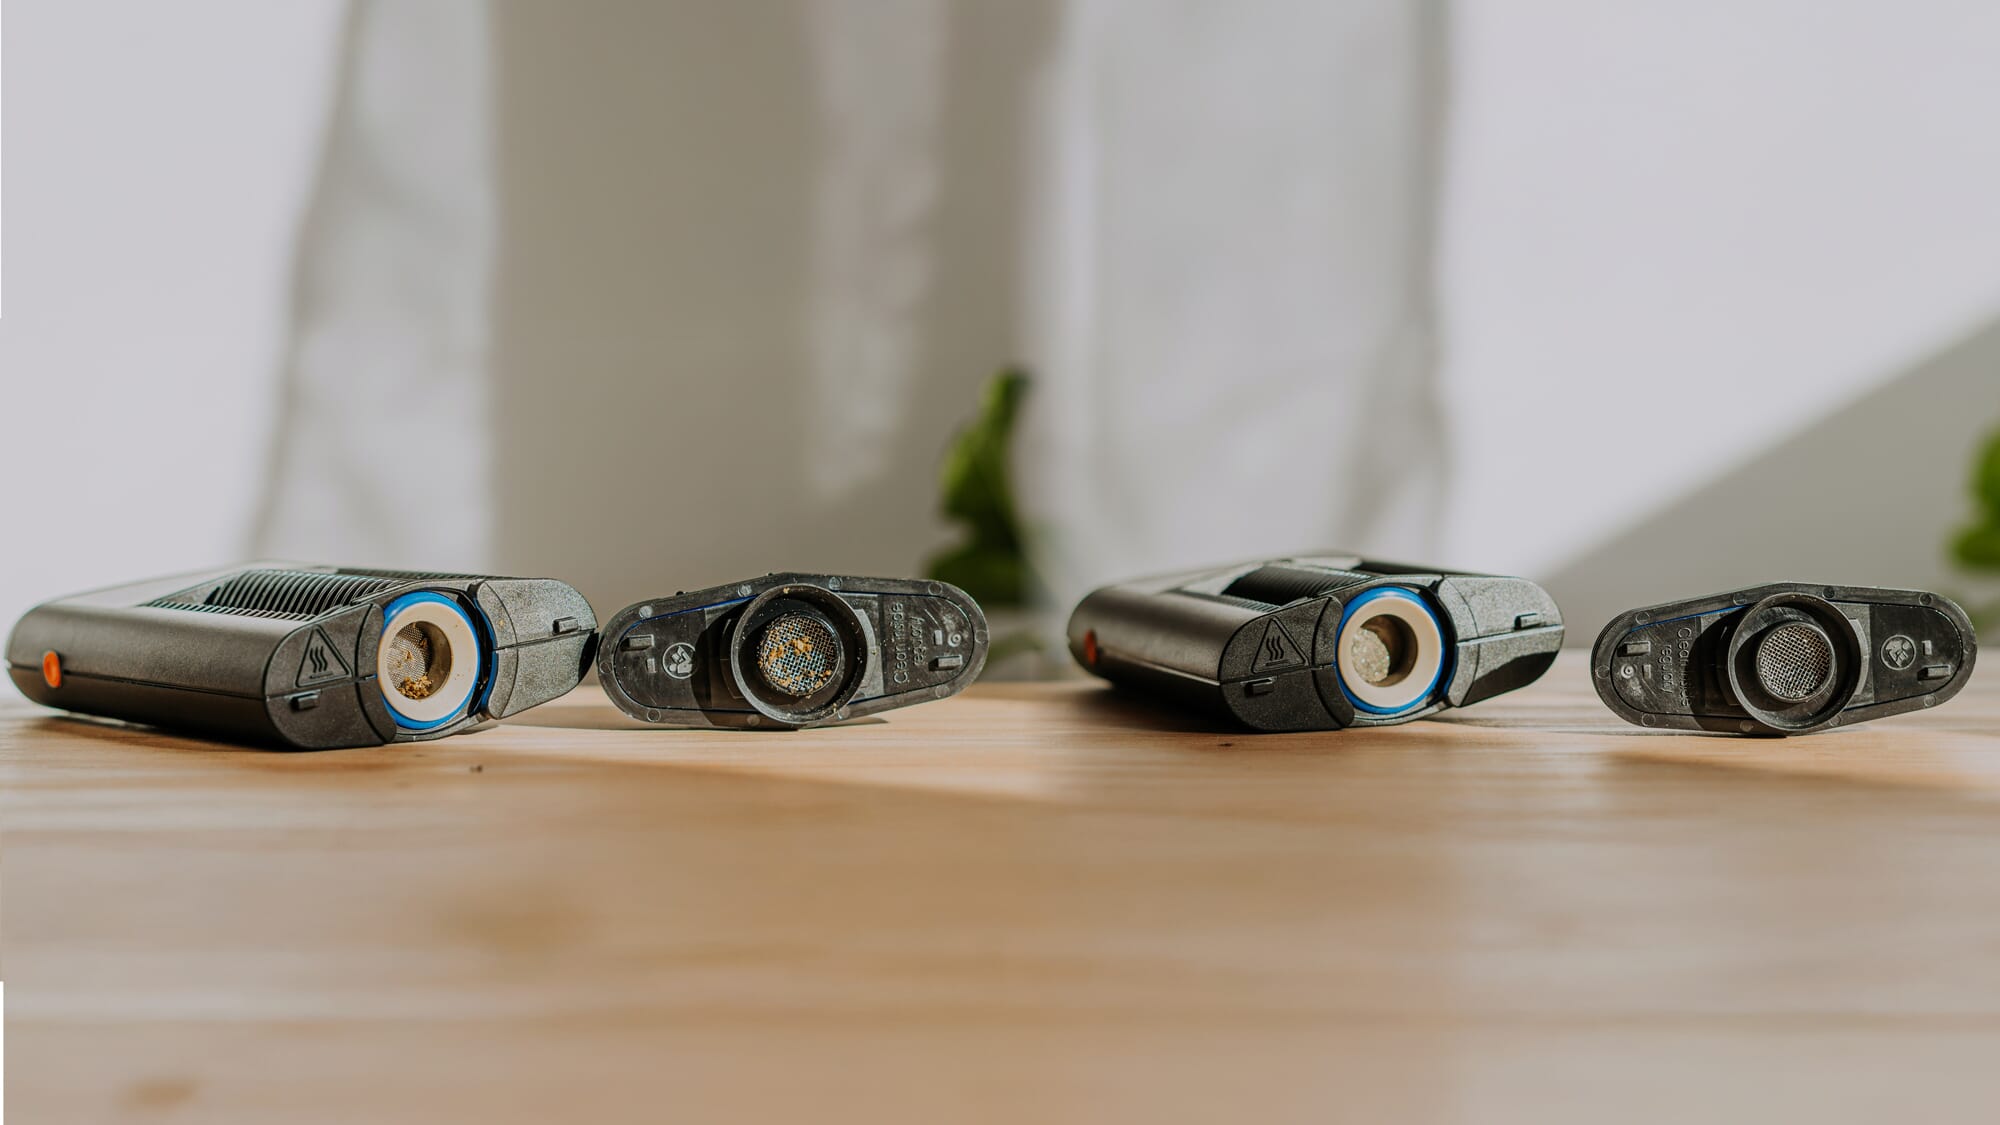
- If your vape has a screen in the mouthpiece, check and brush that regularly to maintain clear airflow.
For heavy users, it can be helpful to have some backup parts on hand, like extra screens and gaskets. That way you can swap them out as needed and keep your sessions going while you give the dirty parts a good soak.
The Benefits of a Clean Vape
Taking a few minutes to tidy up your vape can make a world of difference in your experience. You’ll enjoy:
- Better flavor from your herb as there’s no old residue to taint the taste
- Smoother, easier draws thanks to clear airways
- More efficient heating and vaporization
- Longer battery life since your vape doesn’t have to work as hard
- Extended lifespan of your device and components
Plus, let’s be honest – it’s just more pleasant to use a vape that looks and smells fresh and clean. Your sessions will be more enjoyable all around when you’re not dealing with a gunked-up device.
Conclusion
Cleaning your vape regularly is a simple but essential part of the vaping experience. With the right tools and techniques, it doesn’t have to be a chore. Make it a habit to give your device a quick brushing after each use, and set aside some time every week or two for a more thorough cleaning depending on your usage.
Your vape will reward you with better performance, flavor, and longevity. And you’ll have the satisfaction of keeping your prized possession in pristine condition. Happy vaping!
